Four budgets, not one
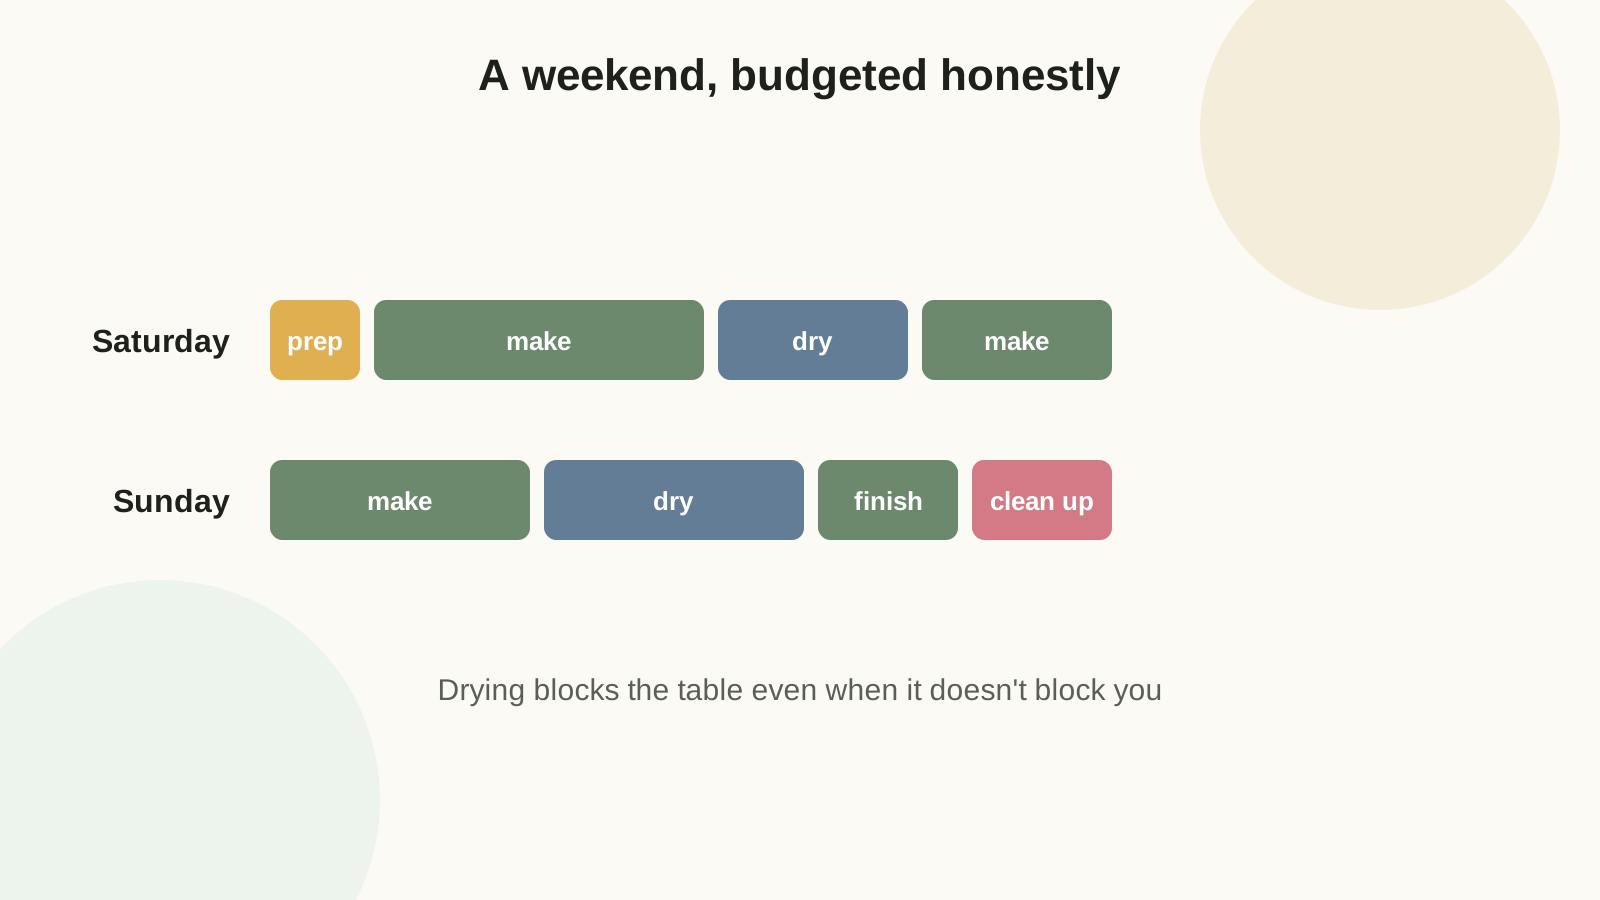
Projects fail on the budget nobody counted. Every craft spends four currencies: active hours (hands on the work), drying windows (the table is occupied but you are not), mess radius (what must be protected, ventilated, or mopped), and cleanup energy (what is left of you at the end). A project that fits your Saturday on the first budget can still fail on the fourth.
Match the project to the hours you really have
| Time you really have | Good choices | Save for later |
|---|---|---|
| 30-90 minutes | Gift tags, labels, mending, garland pieces | Paint, resin, anything needing drying space |
| 2-4 hours | Paper flowers, small boxes, stamped cards, a simple yarn accessory | Large backdrops, multi-color paint jobs |
| A full day | Batch wrapping, wall garlands, painted frames, beginner sewing | Anything with overnight cure time |
| Whole weekend | Furniture refresh, full party decor set, larger knit or crochet pieces | Projects with missing supplies or unclear instructions |
What common projects actually cost
| Project | Prep | Active | Drying | Cleanup |
|---|---|---|---|---|
| Paper flower bouquet | 15 min | 2 h | 30 min (glue) | Low — scraps only |
| Painted wooden signs | 20 min | 1.5 h | 4 h across coats | Medium — brushes, cups |
| Holiday gift tag batch | 10 min | 1 h | 10 min (ink) | Low — trimmer scraps |
| Knitted beanie | 5 min | 4 h | 2 h (blocking) | None |
Notice the painted signs: 1.5 active hours, but the project owns your table for six. Drying time is only "passive" if the wet pieces have somewhere to be. Decide where drying happens before starting — if the answer is nowhere, pick a dry craft or push the wet step to the end of the day so it dries overnight.
Prep before the clock starts
Gather supplies, clear the surface, print templates, and make one test piece — then the project has started. This ritual sounds bureaucratic and saves the actual fun: nothing drains a two-hour window like twenty minutes hunting scissors, discovering the glue is nearly empty, or realizing at piece one (instead of piece fifteen) that the template needs adjusting. The test piece is the cheapest insurance in crafting; every guide on this site ends up recommending it because it keeps being true.
How to shrink a project that is too big
In order of effectiveness:
- Cut the count. Six tags instead of twenty, one garland strand instead of three, a bouquet instead of a wall. Quantity is the honest lever — nobody at the party counts strands.
- Cut the palette. One paper color, one paint, one ribbon, one repeat shape. Fewer materials means fewer setups, fewer drying rounds, less cleanup.
- Cut the wet steps. Swap paint for colored cardstock, liquid glue for tape runner. Dry techniques compress the schedule dramatically.
Before starting, ask: would I still want to clean this up at 8 p.m.? If not, shrink the project now — fewer pieces, one color, smaller batch, or a dry technique. Match the project to end-of-day energy, not start-of-day optimism.
Crafting with kids in the room
Scale the plan to the youngest hands: do all craft-knife cutting in advance, swap liquid glue for glue dots or tape runners, cover the table with a disposable cloth, and station baby wipes within reach. Give children a complete-able job (sorting petals by size, sticking pre-cut shapes) rather than a fraction of yours. Hot glue and blades live out of reach, full stop. A kid-session plans like a 90-minute project even when the craft is technically a four-hour one — attention is the real budget.
Between-session storage
For projects that span sessions, keep a shallow tray or box lid as the project's home: active pieces, tools, and the instructions all go in at the end of each session. The table clears, the project survives, and restarting costs thirty seconds instead of a search. Half-finished projects die of scattered pieces more often than lost interest.
FAQ
What makes a craft realistic for one weekend?
Three things: supplies already on hand, a clear stopping point, and somewhere for wet or resting pieces to sit without blocking daily life. Missing any one? Choose the smaller version of the same idea.
Should I plan cleanup time?
Yes — as a real line item, especially for paint, glue, glitter, and paper cutting. A finished project feels finished when the table is usable; budget 15-30 minutes and the Sunday-night test passes itself.
How do I rescue a step that went wrong?
Stop and let everything dry completely before attempting the fix. Wet paper tears and wet paint smears — nearly every "small mistake became a disaster" story has an impatient correction in the middle. Diagnosis help lives in the troubleshooting guide.