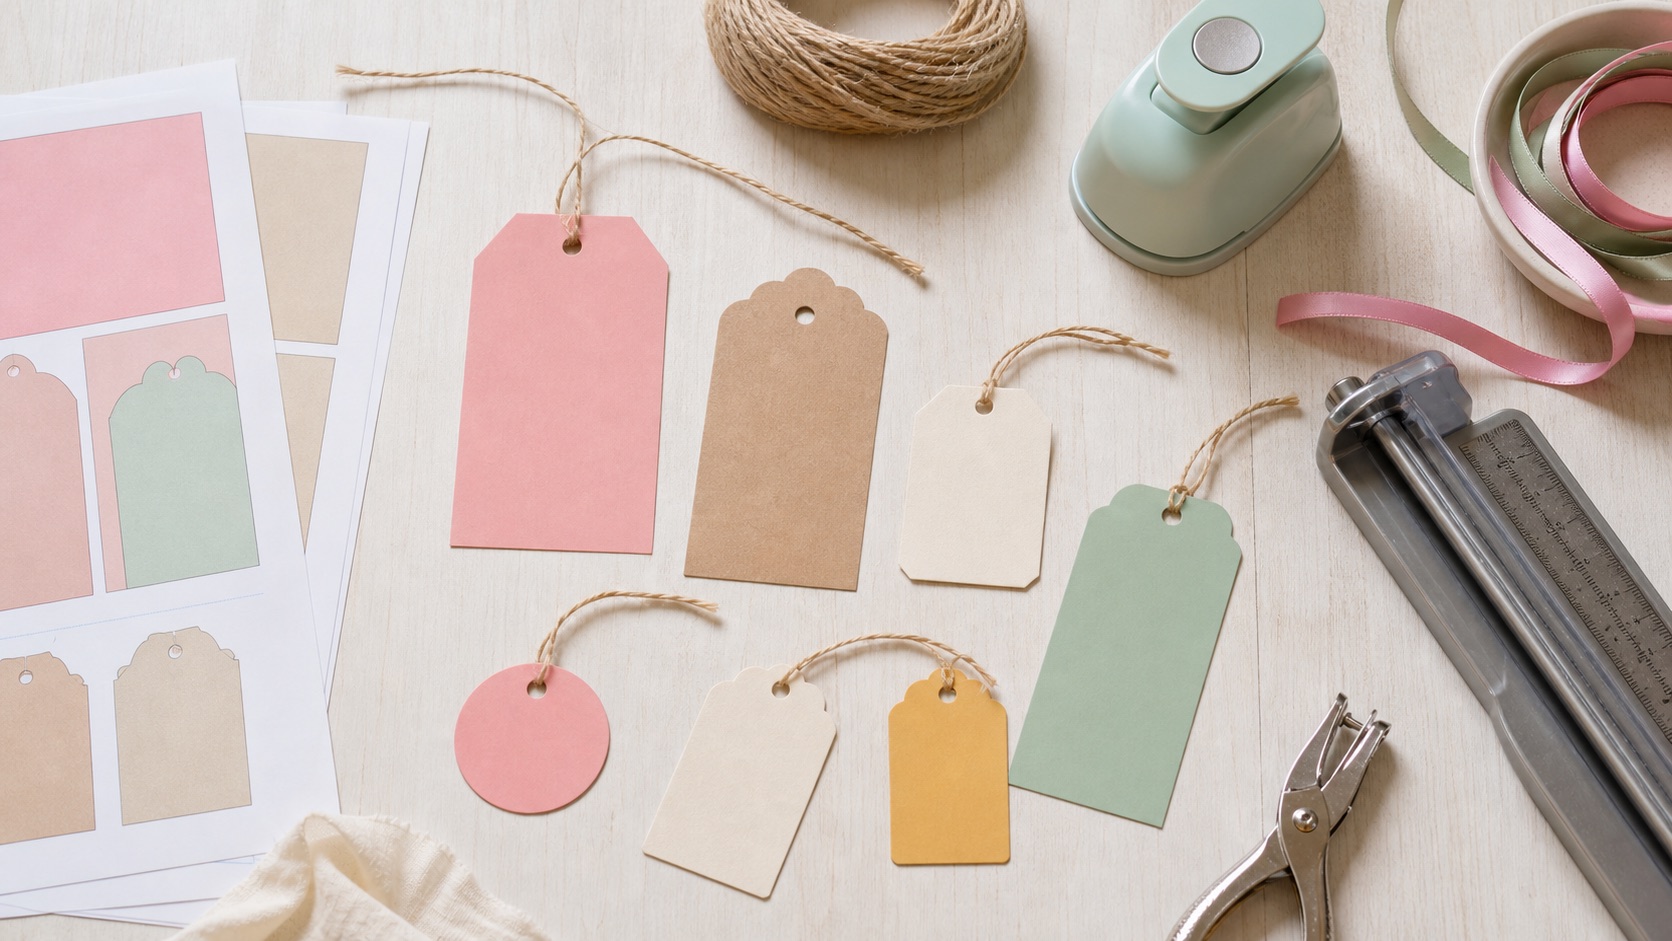
Download the free tag sheet template
Ten 3.5 x 2 inch tags with angled ends and 3/16 inch hole marks, arranged two across and five down on one letter sheet. Print it directly onto cardstock, or print on plain paper as a cutting guide.
Download template (SVG) Open and print Print at 100% / Actual Size with scaling off. A 1-inch test square is printed inside the first tag — measure it before cutting the batch. The faint size labels print light so finished tags stay usable. Full settings walkthrough: how to print at actual size.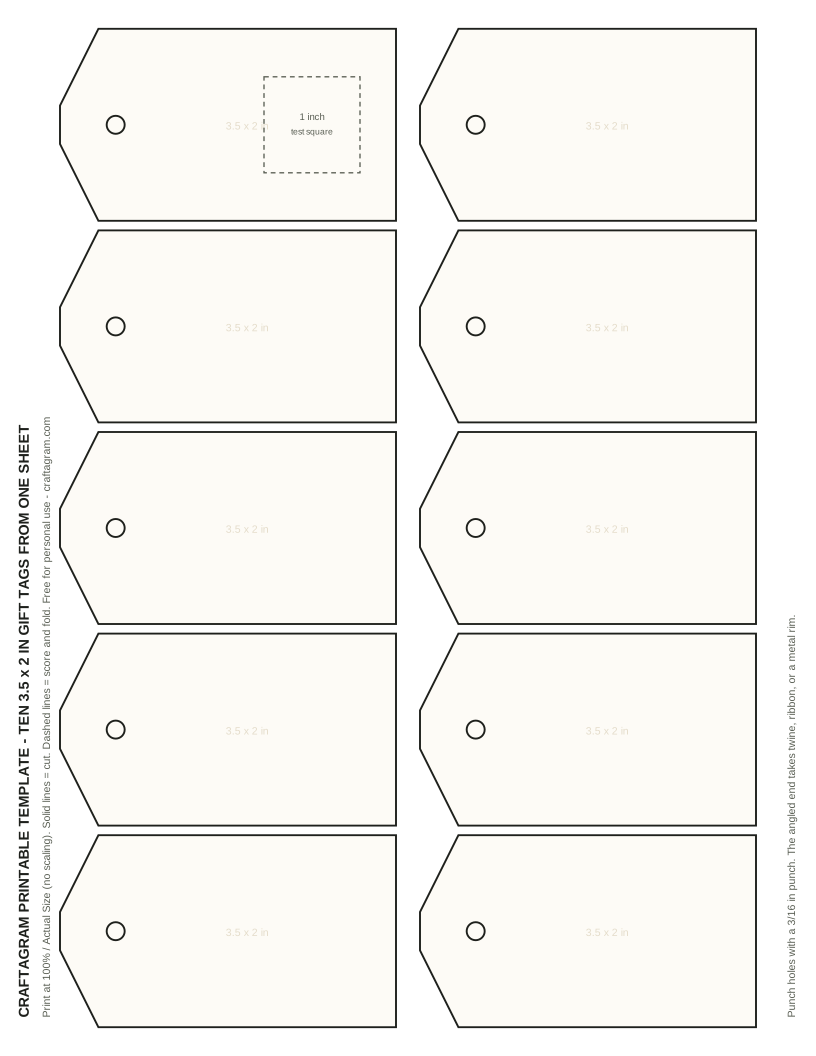
Project target
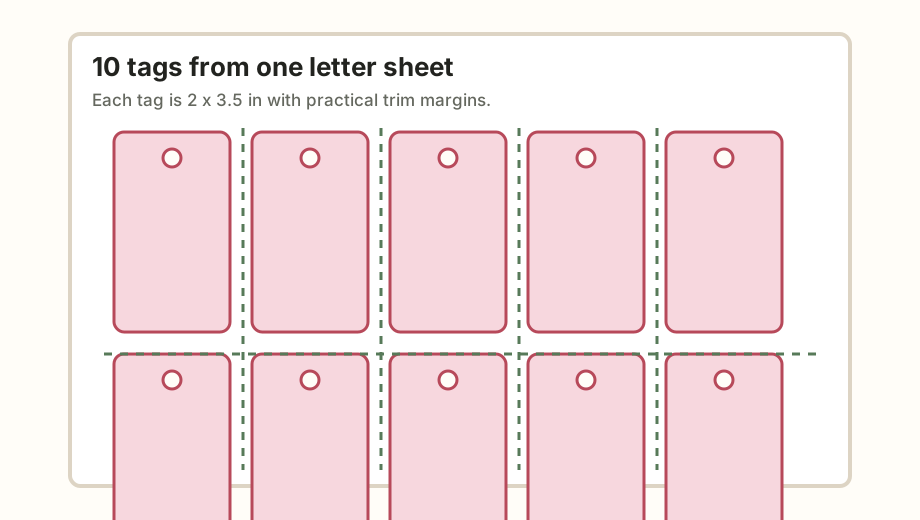
Ten sturdy tags from one 8.5 x 11 inch sheet. Each finished tag is 3.5 x 2 inches — large enough for a name and a short note, small enough for favor bags, wrapped books, jars, and birthday gifts. With a paper trimmer, the whole sheet takes about ten minutes from print to punched.
Supplies
- One sheet of 80 lb cover cardstock, or a printable matte cardstock your printer accepts.
- Paper trimmer (guillotine or rotary), or a craft knife with a metal ruler.
- Hole punch around 3/16 inch (0.1875 in). Standard office punches are 1/4 inch, which also works but looks chunkier on a small tag.
- Twine, narrow ribbon, or cotton cord — 8 to 10 inches per tag.
- Optional: corner rounder for a softer edge, metal reinforcement rings for heavy packages.
Cutting order
- Print the sheet and let inkjet ink dry fully — five minutes for plain designs, longer for heavy color coverage.
- Trim the outside margins first so the sheet has square edges to register against.
- Cut the vertical gutter between the two columns. You now have two long strips that are easy to hold.
- Cross-cut each strip into five tags, aligning the trimmer to the printed gaps.
- Clip the angled corners in small stacks of two or three tags so the angles match across the batch.
- Punch holes last, after the tags are individual pieces.
Why holes come last: punching weakens the top of the tag slightly, and a pre-punched sheet can flex under the trimmer blade so tags finish with crooked top edges. Punching last also means one miscut tag costs you one tag, not a hole position on the whole sheet.
Measurements that matter
| Part | Measurement | Note |
|---|---|---|
| Finished tag | 3.5 x 2 in | Ten per letter sheet with trim gaps. |
| Hole position | Centered on the angled end, ~0.6 in from the point | Move inward for thick ribbon. |
| Hole size | 3/16 in | Takes doubled baker's twine or 1/8 in ribbon. |
| Twine length | 8 to 10 in | Enough for a lark's head loop plus a bow tail. |
| Quiet writing area | At least 1.5 x 1.5 in | Needed if names are handwritten. |
Other layouts, honestly compared
Ten tags at 3.5 x 2 is the sweet spot between size and yield, but it is not the only sensible layout:
| Tag size | Layout | Tags per sheet | Best for |
|---|---|---|---|
| 3.5 x 2 in | 2 columns x 5 rows | 10 | General gifting: name plus a short note |
| 3 x 2 in | 4 columns x 3 rows (rotated) | 12 | Favor bags, jar labels |
| 3.375 x 2.125 in | 2 columns x 4 rows | 8 | Watercolor texture or a longer message area |
| 2.25 x 1.5 in | 5 columns x 4 rows (rotated) | 20 | Classroom treats, short labels only |
Drop to eight per sheet when the design needs a message area or a large handwritten name; go to twenty only when the tag carries a label, not a note. The paper yield calculator checks both orientations for any custom size.
60 tags ÷ 10 per sheet = 6 sheets, plus 15% waste buffer ≈ 7 sheets of cardstock. Twine at 9 in per tag = 540 in = 15 yards, so one standard 25-yard spool covers it with slack for bows. Cutting time runs about 10 minutes per sheet by hand; plan one hour of trimming and punching, and write names on the flat sheets before cutting — writing on a flat sheet is far faster than chasing 60 loose tags across a table.
Common mistakes
Designing to the edge. Home printers shift artwork a millimeter or two between sheets. Keep borders forgiving — a solid background that bleeds slightly into the trim gap, or a design that floats clear of the cut lines. If your software supports crop marks, place them outside the tag borders so no black lines survive on finished tags.
Using copy paper. It prints easily but curls on a package within a day, especially pulled by heavier twine. 65 to 80 lb cover cardstock hangs flat. The full weight comparison is in the cardstock weight guide.
Punching too close to the edge. Less than 1/4 inch of paper above the hole tears under one firm tug. If a tag must hang from a heavy gift bag, add metal reinforcement rings or double the cardstock.
Tie one finished tag to the actual package before printing more sheets. If the tag overpowers the package, reduce the size or switch to thinner twine; if it disappears, move up a layout size.
FAQ
What paper trimmer works best for batch cutting?
A guillotine or heavy-duty rotary trimmer. Small slider-blade trimmers bend cover-weight cardstock at the edge and dull quickly across multiple sheets, which shows up as fuzzy cuts by sheet three.
Can I cut these with a cutting machine instead?
Yes — import the SVG into your cutting software, delete the text labels and the test square, and set the tag outlines and holes to cut. Use a print-then-cut workflow if you printed a design on the sheet first.
How do I attach twine neatly?
Fold the twine in half, push the folded loop through the hole, pass the two tails through the loop, and pull gently — a lark's head knot. It sits flat, never slips, and unties cleanly if the recipient wants to keep the tag.