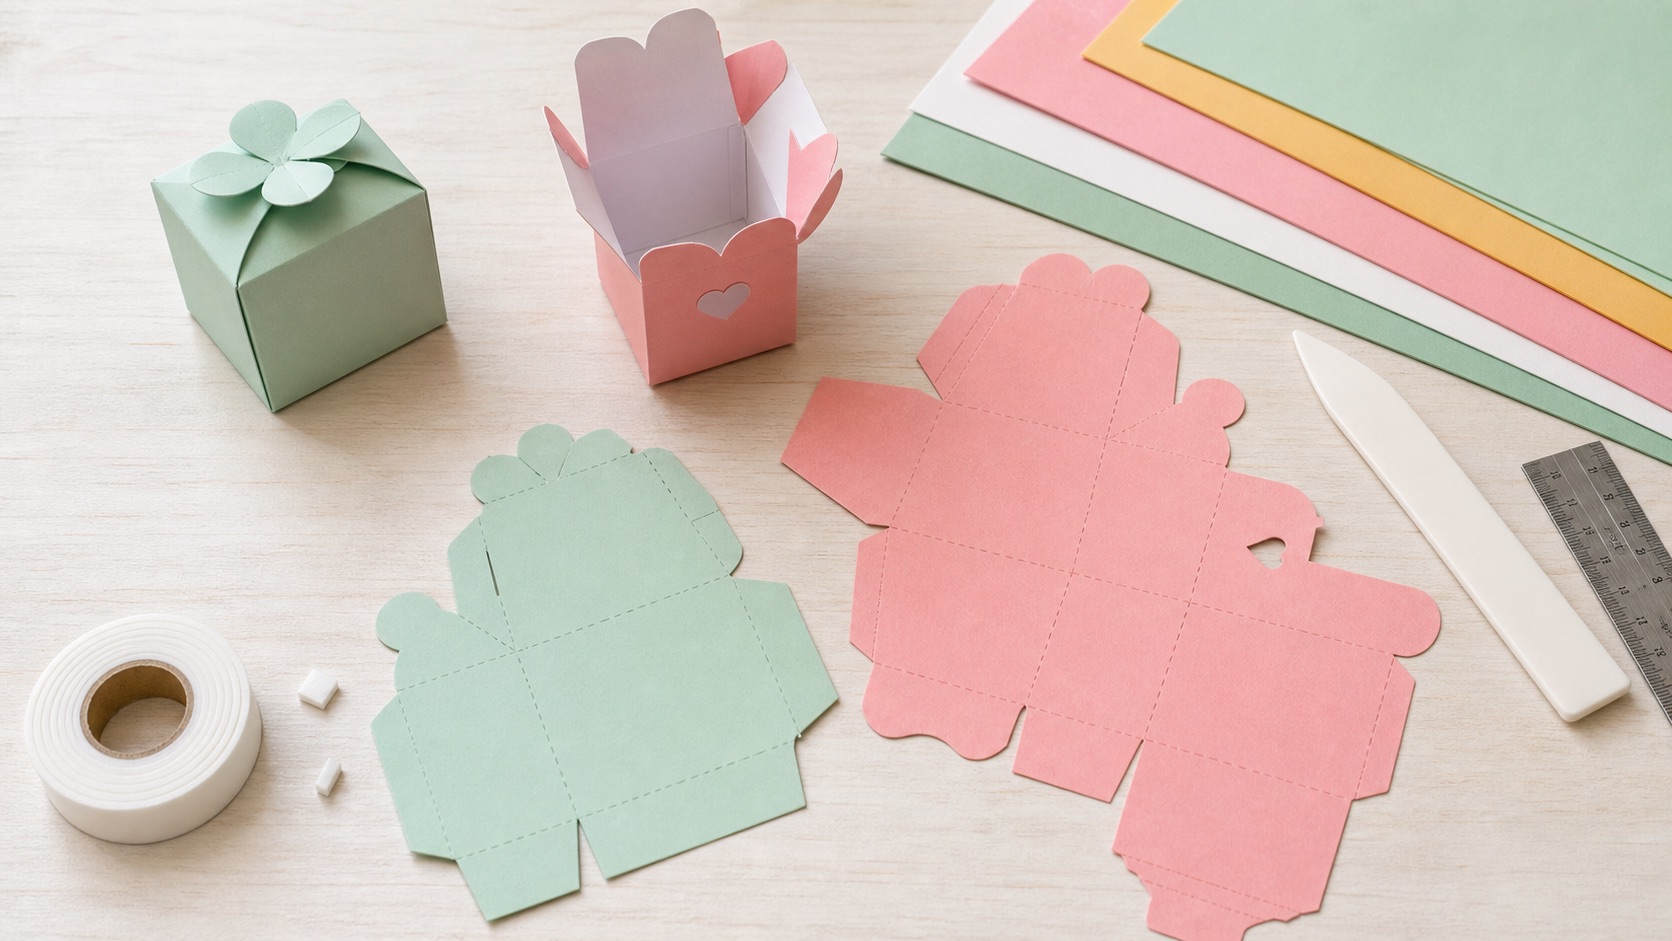
Download the free favor box template
A cross-shaped net for a 2 x 2 x 2 inch cube: base, four walls, rounded tuck flaps top and bottom, and four glue tabs. Solid lines cut, dashed lines score and fold. One box per letter sheet.
Download template (SVG) Open and print Print at 100% / Actual Size with scaling off and check the 1-inch test square. Print on the back of your cardstock so no lines show on the finished box, or print on plain paper and trace. Full settings walkthrough: how to print at actual size.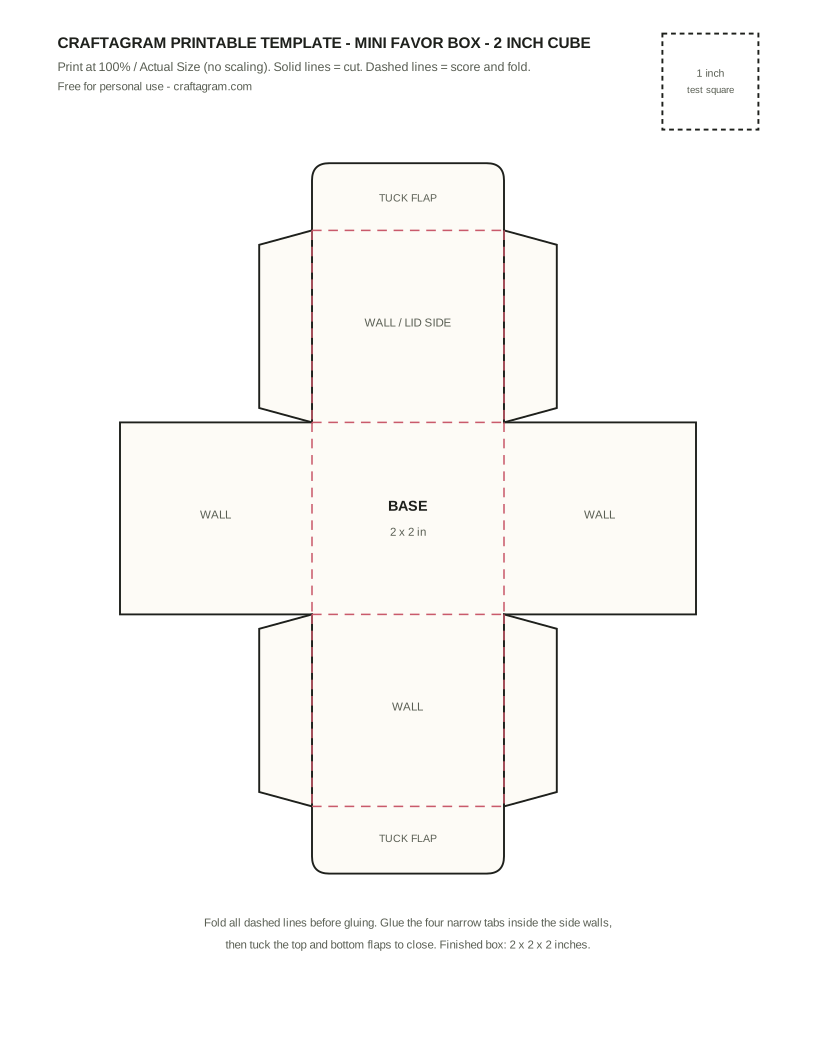
What this box is for
The finished cube has an inside space just under 2 x 2 x 2 inches — right for two or three wrapped candies, a small ornament, jewelry in a pouch, a rolled note, or a lightweight table favor. Avoid unwrapped food unless the paper is food-safe and the box is lined; the food-safety FAQ below covers the practical workaround.
Assembly, in the order that works
- Score everything first. Run a bone folder, empty ballpoint, or butter knife along every dashed line against a ruler, on the printed (inside) face. Scoring pre-compresses the fold so the outer finish does not crack.
- Fold every crease with no glue. Fold each line both directions once, then assemble the cube dry. If a corner will not meet cleanly now, glue will not fix it.
- Glue the four narrow tabs inside the neighboring walls, one tab at a time. Clamp each with a mini clothespin or paper clip for 60 seconds.
- Let it rest 15 minutes before packing. Folded seams hold spring tension, and adhesive needs time to win that fight.
- Tuck the bottom flap, fill, tuck the top. The rounded flap corners are what let the tuck slide in without snagging.
Measurements and why they are what they are
| Part | Measurement | Why |
|---|---|---|
| Base and walls | 2 x 2 in each | Creates the cube; one net fills a letter sheet efficiently. |
| Glue tabs | 0.55 in, tapered | Too short and wall tension pops them open; too long and they bulge the walls from inside. |
| Tuck flaps | 0.7 in deep, rounded corners | Deep enough to stay closed when the box is picked up, shallow enough to open without tearing. |
| Paper | 65 to 80 lb cover | Scores cleanly at this scale. Heavier stock fights the small folds and springs open. |
Why small boxes fail
Mini boxes fail in three ways, and all three are visible before glue touches paper. Paper too heavy: 100 lb cover behaves at 4-inch scale but springs open at 2 inches — the fold radius is too tight for the fiber. Scores slightly off: a 1/32 inch drift in one score line twists the whole cube, because the error lands in every corner at once. Redraw against a ruler rather than forcing the folds. Tabs glued hastily: glue one tab at a time and let each grab before moving on; gluing all four then squaring the box smears adhesive across the visible walls.
Scaling the box up or down
| Finished cube | Paper needed | Internal volume | Paper weight |
|---|---|---|---|
| 1.5 x 1.5 x 1.5 in | One 6 x 6 in sheet | 3.4 cu in | 65 lb cover |
| 2 x 2 x 2 in (this template) | One letter sheet | 8 cu in | 65-80 lb cover |
| 2.5 x 2.5 x 2.5 in | One 12 x 12 in sheet | 15.6 cu in | 80 lb cover |
| 3 x 3 x 3 in | One 12 x 12 in sheet | 27 cu in | 80-100 lb cover |
Volume grows with the cube of the side length — a 2.5 inch box holds nearly double the 2 inch box — so wall stiffness has to keep up. When you enlarge the template on a copier or in cutting software, move up a paper weight at the same time. For a proper lidded box instead of tuck flaps, use the lidded paper box template.
One box per letter sheet means 24 sheets, plus two spares for score-line mistakes: buy 26. Gluing at roughly 4 minutes per box (four tabs, clamp time overlapped by working in rotation) is about 90 minutes of assembly. Cut and score in one session, glue in a second — the boxes flatten and stack between sessions, and folded-but-unglued nets travel well if you assemble at the venue.
Finishing ideas
Stamp or letter the front wall before assembly, while the net is flat. Ribbon is the opposite: judge length after folding, once the real box exists — about 20 inches wraps a 2 inch cube both ways with a modest bow (the ribbon calculator handles other sizes). A 1.5 inch tag on baker's twine tied around the closed box also keeps the tuck flap from opening in a goody bag; cut tags from the sheet corners this template leaves behind, using the gift tag layout.
Make one complete box from the exact paper you plan to use. If it closes cleanly, flatten it and keep it — a folded master is faster to check against than a printed diagram.
FAQ
How do I make favor boxes food-safe?
Standard cardstock, inks, and adhesives are not certified food-safe. Wrap truffles, cookies, or candies in a small cellophane or glassine bag first, then box them. The bag also keeps oils from spotting the cardstock from inside.
The box keeps popping open in the goody bag. What helps?
Three options in increasing order of effort: a small round sticker over the tuck flap seam, twine tied around the box, or a 1/8 inch notch cut into the wall crease that the tuck flap corner locks into.
Can I resize this template on a copier?
Yes — but volume grows much faster than the outline, so a box enlarged 25% holds nearly double and needs heavier cardstock to keep walls from bowing. Shrinking below about 1.5 inches makes the tabs too small for fingers; cut smaller boxes on a machine.