Download the free recipe card sheet
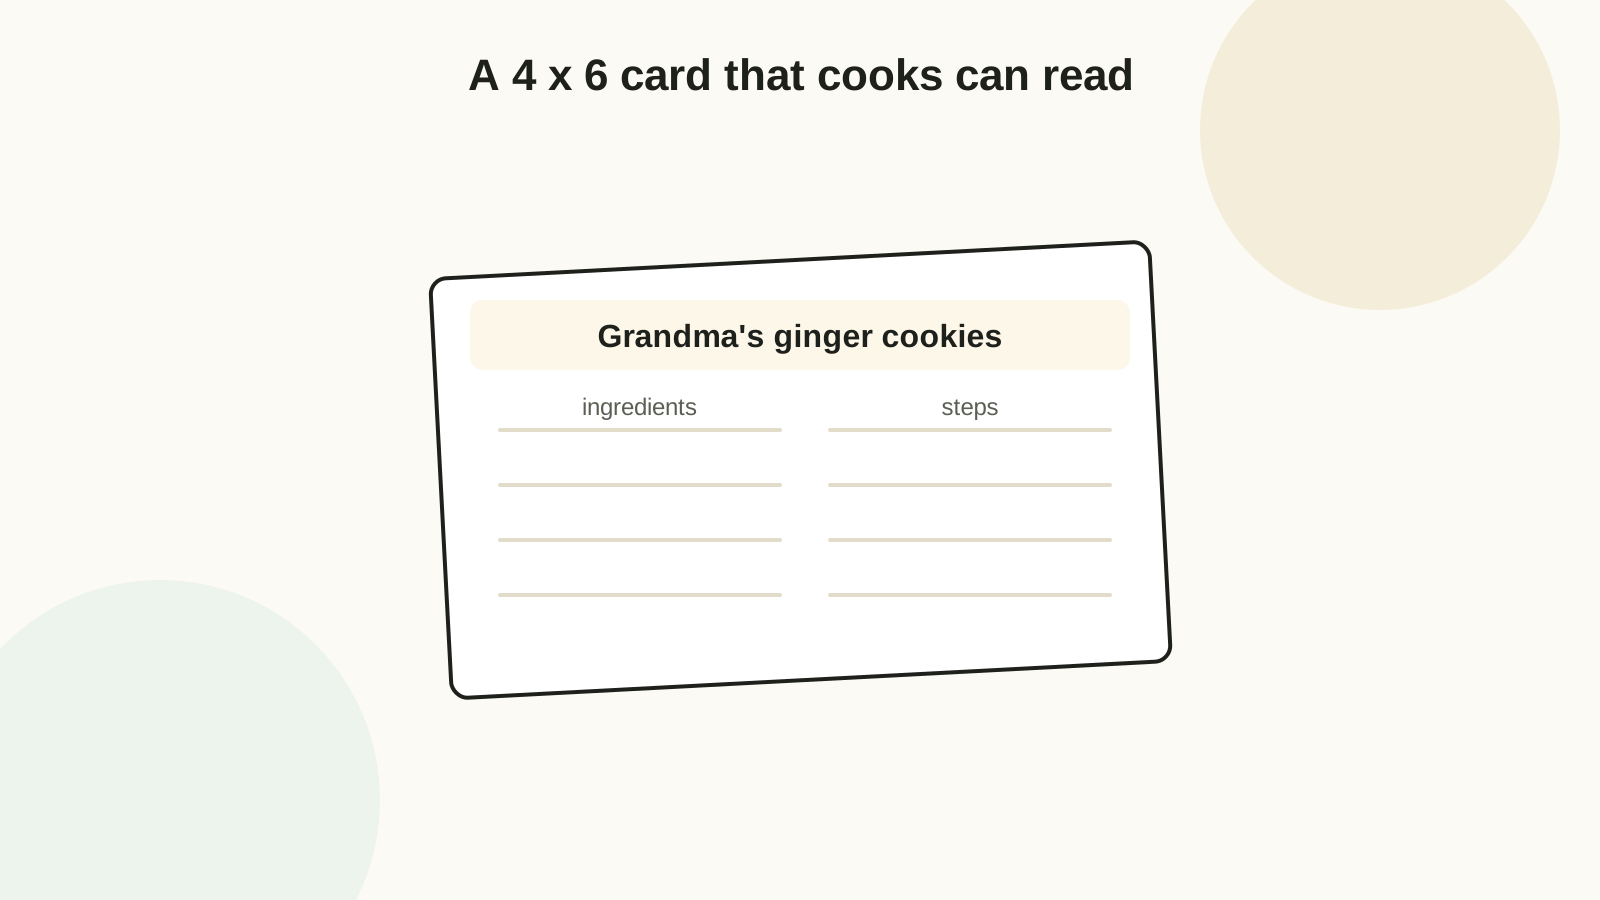
Two 6 x 4 inch cards per letter sheet: title band, serves/time corner, and a ruled ingredients column beside a wider steps column. The rules print light so handwriting sits on them, not under them.
Download template (SVG) Open and print Print at 100% / Actual Size and check the 1-inch test square — a "fit to page" print makes cards that almost fit the box (the printing guide explains).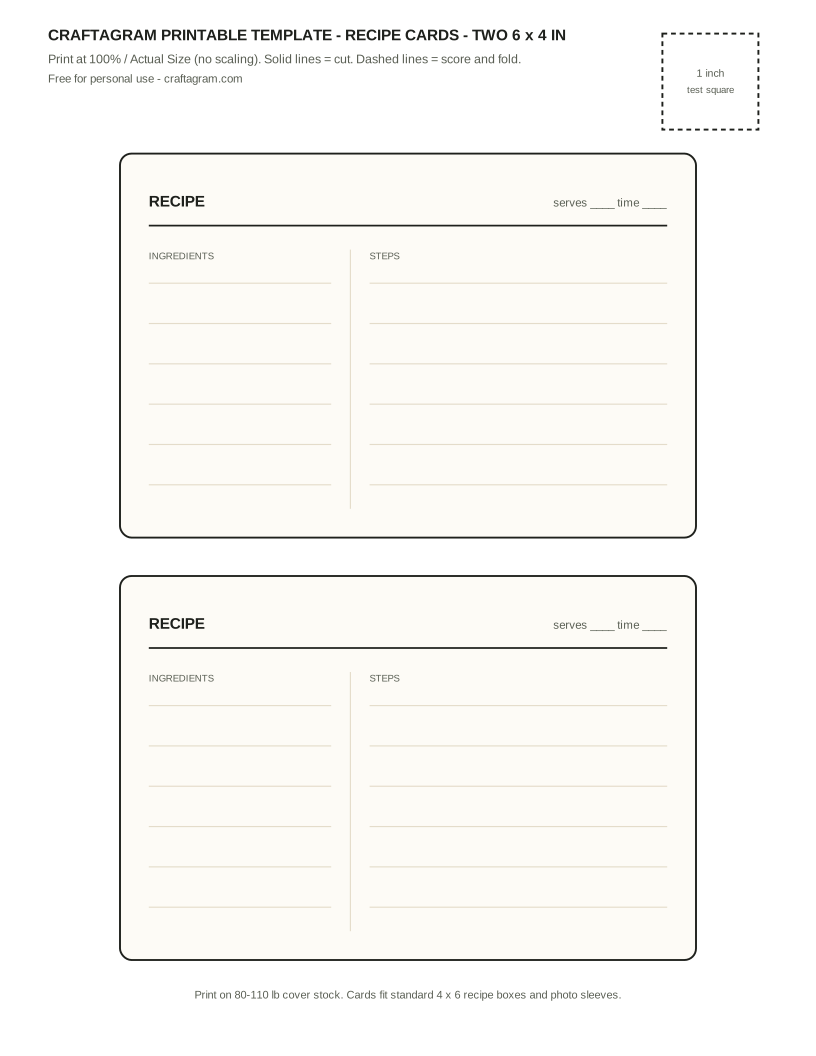
Why 4 x 6, and why the split layout
4 x 6 is the size the world already supports: recipe boxes, photo sleeves, card stands, and the plastic protectors sold in every kitchen store all fit it (the size overlap is no accident — see the paper sizes reference). The two-column layout is the actual usability feature. A cook checks the ingredient list a dozen times and the current step once a minute; when they are interleaved in prose, every glance is a search. Separated columns mean the eye returns to a known place. It is the same reason professional kitchens write prep lists and method separately.
Writing a card that works at the stove
- One recipe, one card. If it does not fit, the card continues on a second card labeled "2 of 2" — never on the back. The back is against the stand while cooking.
- Ingredients in use order, top to bottom, with amounts first: "2 c flour," not "flour, 2 cups." The eye reads amounts down the left edge like a checklist.
- Steps as verbs: "Cream butter and sugar, 3 min." Numbers, temperatures, and times in digits — "375°F, 12-14 min" reads across the kitchen; "three hundred seventy-five" does not.
- Write the tells, not just the times. "Until edges brown but centers look underdone" is the line that makes a handed-down card better than the internet.
- Pen: a fine permanent marker or archival gel pen. Ordinary ballpoint fades and water-based ink runs at the first splash.
Paper that survives the kitchen
| Card's life | Print on | Note |
|---|---|---|
| Lives in a box, used monthly | 80-110 lb cover | Stiff enough to stand in a card stand; the default. |
| Weekly workhorse recipes | 110 lb cover + laminate or sleeve | Laminate after writing; wipes clean of batter. |
| Gift sets | 100 lb cover, cream or white | Heavier stock reads as a finished gift, not office supplies. |
| Drafts while testing a recipe | Copy paper, cut to size | Recopy to a real card only once the recipe stops changing. |
If your printer balks at heavy stock, print on text weight and glue it to blank 110 lb cards — the laminated pair is stiffer than either sheet (feed tricks are in inkjet vs laser).
Thirty recipes, two cards per sheet → 15 sheets of 100 lb cover, plus five spare sheets for rewrites. Collect recipes by asking each contributor for their tells, not just amounts ("how do you know when it's done?"). Handwrite or have each contributor write their own card — mixed handwriting is the feature, not a flaw. Add ten blank cards for the couple's future recipes, a labeled divider set cut from the same stock, and a 4 x 6 box. Total: about two evenings, and it will outlive every appliance on the registry.
Printing recipes onto the cards
To type instead of handwrite: print the blank card sheet first, note which template card is top and bottom, then run the sheet through again with your text laid out in a word processor at the card positions (two 6 x 4 landscape frames, centered at 4.25 in from each side edge, 3.6 in and 8 in from the top). Print a plain-paper test to check registration before using card stock — printers drift a millimeter or two, which is why the template's rules are light enough to sit under printed text without fighting it.
Storage and the box itself
Standard 4 x 6 recipe boxes fit about 100 unsleeved cards or 60 sleeved. Divider logic that works in practice: by course is what everyone starts with; by frequency is what cooks actually want — WEEKLY, MONTHLY, PROJECT, and INHERITED beats APPETIZERS through DESSERTS for the way real kitchens run. Keep a pencil in the box: amounts get adjusted, and a card with three corrections is a better recipe than a pristine one.
Long recipe? Second card, stapled sleeve, "2 of 2" in the corner. The moment a recipe continues on the back of its card, it will be cooked wrong by someone who never flipped it — usually during a holiday.
FAQ
Can I make these 3 x 5 instead?
The layout shrinks to 3 x 5 (three per sheet, rotated), but the steps column drops to about 2.7 in wide — fine for bakers' shorthand, cramped for full sentences. Print one test card at each size and write your longest recipe on it before choosing.
How do I protect cards without laminating?
4 x 6 photo sleeves — sold in hundreds for pennies each. The card slides out for corrections, which laminate never allows. Laminate only the cards whose recipes are finished changing.
What about splatter on already-written cards?
Blot immediately, never rub. Then accept it: a grease mark on a recipe card is provenance. Cards that must stay pristine belong in sleeves before the first cook.