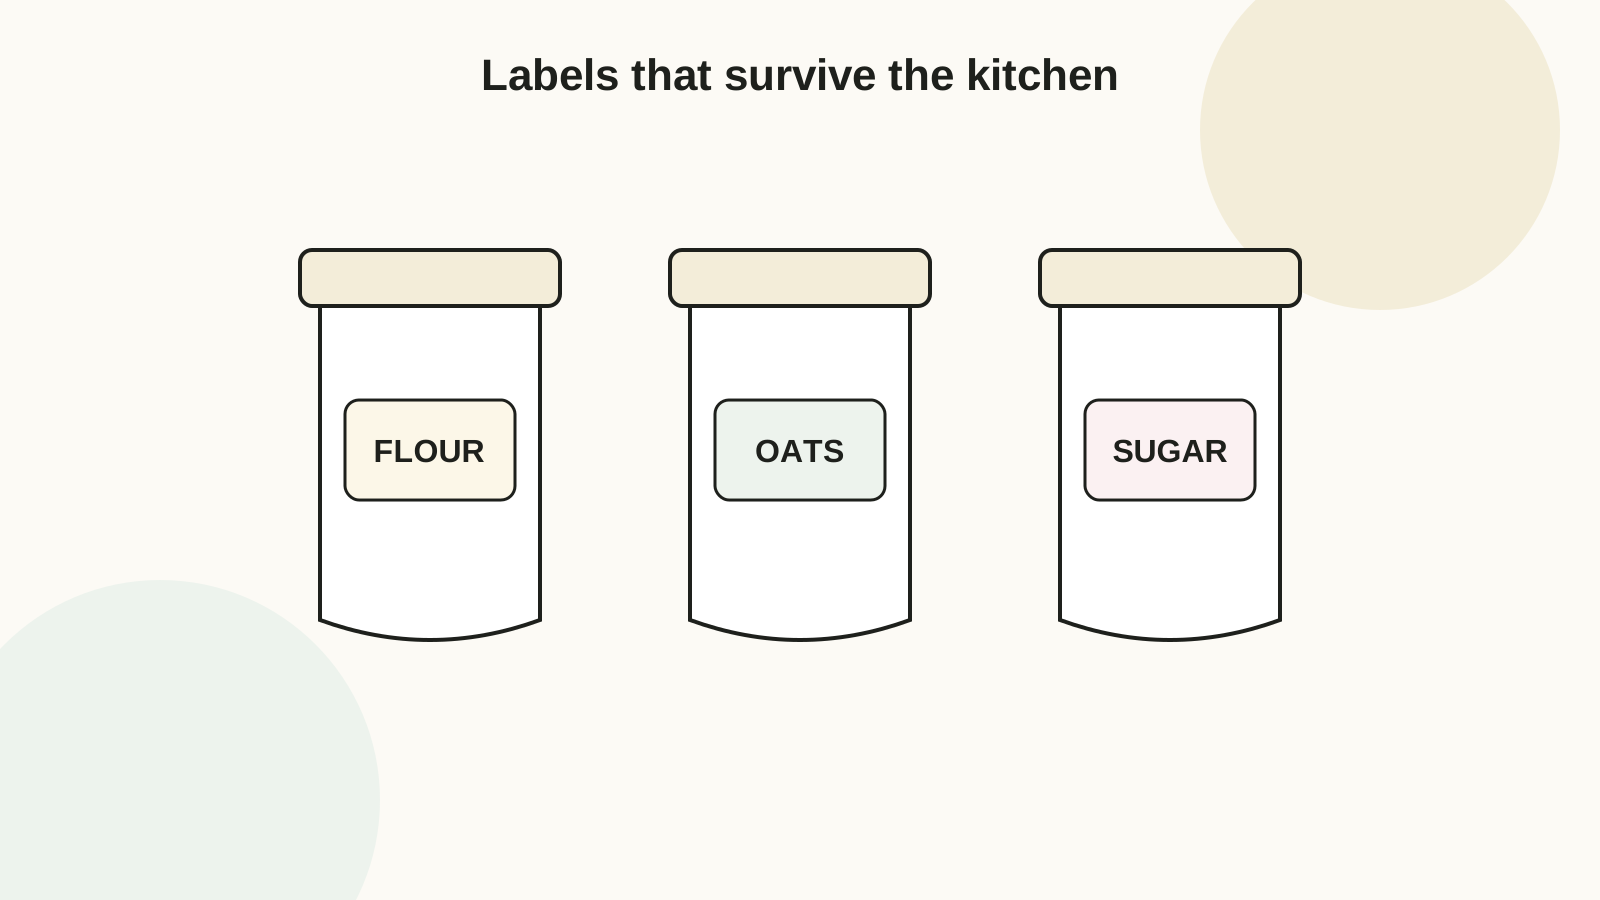
Download the free pantry label sheet
Fifteen 2.5 x 1.5 inch rounded labels per letter sheet, each with a faint inner writing frame and baseline that print light and disappear under lettering. Print on sticker paper for peel-and-stick, or on cardstock for tie-on and tape-on labels.
Download template (SVG) Open and print Print at 100% / Actual Size and check the 1-inch test square — the printing guide shows exactly where scaling hides.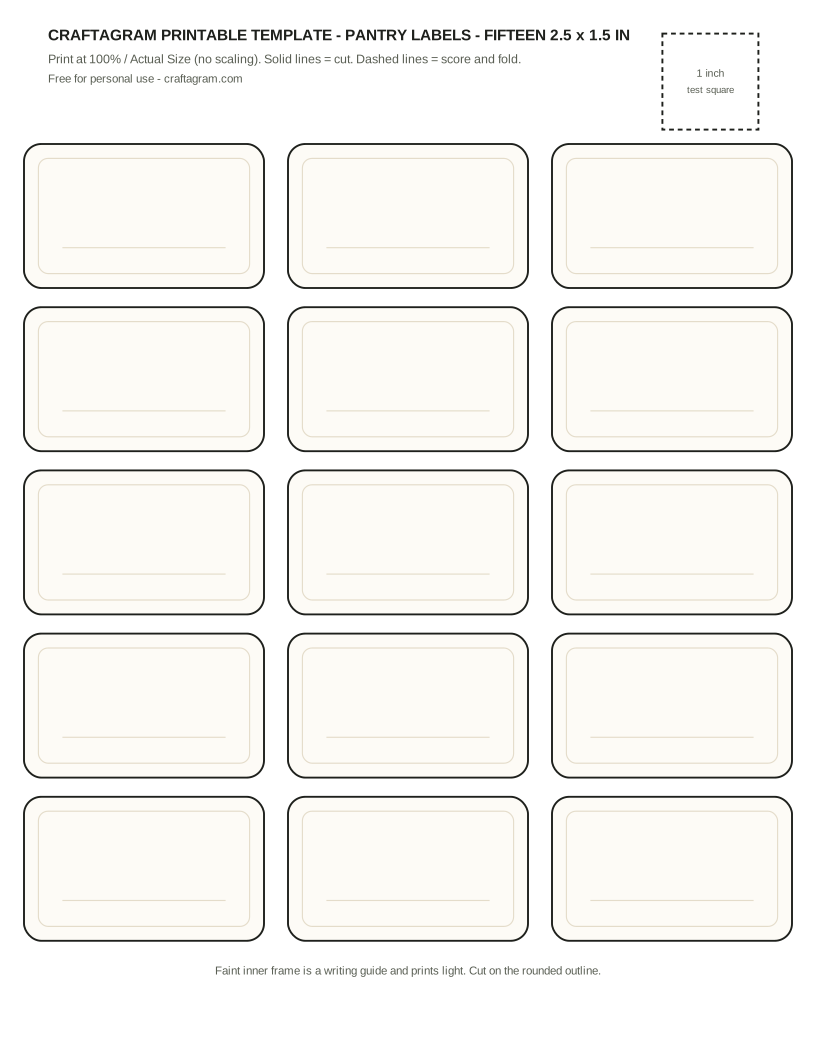
The three decisions before printing
Sticker or tag? Peel-and-stick labels look built-in and are right for jars you own forever. Tie-on tags (punch a corner, loop twine) are right for containers that rotate — borrowed jars, deli tubs, anything that might be recycled. Handwritten or printed names? Handwriting in one pen across all labels looks intentional and lets you label jar sixteen in March without matching a font. Printed names look crisper and demand you finalize the inventory now. Waterproof or not? Decide per shelf: baking cupboard labels live dry; anything near the sink or stove needs the waterproofing section below.
Paper and adhesive for kitchen life
| Label destination | Print on | Why |
|---|---|---|
| Dry-cupboard jars | Matte sticker paper | Writable, cheap, and dry shelves never test it. |
| Jars that get wiped or rinsed | Printable vinyl + laminate | Survives damp cloths and drips; the layering is covered in the sticker paper guide. |
| Fridge and freezer containers | Vinyl, laser-printed or laminated | Condensation is a slow rinse — inkjet ink alone will ghost. |
| Rotating containers | 65-80 lb cardstock tags | Unties and moves with the contents. |
| Chalkboard-look labels | Matte black cardstock + white paint pen | Printers cannot print white — hand-letter the names. |
Applying labels straight (the part everyone rushes)
- Wash the jar band with dish soap, rinse, and dry fully — adhesive fails on invisible oil, not on glass.
- Wipe the label zone with rubbing alcohol for anything waterproofed.
- Mark a consistent height: a strip of painter's tape around the jar at the label's bottom edge makes a removable guide. Same height on every jar in the row is most of what "organized" looks like.
- Peel the backing halfway, place the label's leading edge against the guide, and smooth across with a card — center-out, chasing bubbles to the edges.
- Curved jars: label the straightest band. On tight curves use a smaller label rather than forcing a big one to wrinkle.
24 jars ÷ 15 labels per sheet = two sheets, with six spares for the jars you forgot (there are always jars you forgot). One sheet of matte sticker paper for the cupboard plus one vinyl sheet for the four jars by the stove covers the split. With handwritten names, the whole project is: print two sheets, cut fifteen minutes, letter twenty minutes, apply thirty — one evening, and the spares live in the junk drawer for future jars.
A naming system that survives refills
Label the role, not the purchase: BREAD FLOUR, not the brand; OATS, not "Quaker Old Fashioned." Brands change with sales; the jar's job does not. Add a small date corner in pencil for anything with a real shelf life (whole-grain flours, nuts, spices) — pencil wipes off glass-adjacent laminate and updates at every refill. Resist the urge to label everything on day one: fifteen labels covering the jars you actually reach for beats forty labels including "miscellaneous lentils, unclear."
Waterproofing, honestly ranked
- Laser printing on vinyl: waterproof out of the printer. The toner-vs-ink physics is in inkjet vs laser.
- Self-adhesive laminate over inkjet: apply over the printed sheet before cutting so every label edge is sealed. Dishwasher-resistant in practice.
- Spray sealer: two light coats protect against drips and handling, not soaking. Test on one label first — some sealers bleed inkjet ink on contact.
- Nothing: completely fine for dry shelves, and the label peels cleanly when you change your mind.
Stick it on the worst-case jar — the one by the stove — and live with it for a week. It costs one label to find out the paper ghosts under a damp cloth; it costs the whole batch to find out after applying twenty-four.
FAQ
How do I remove old labels and residue?
Soak glass jars in warm soapy water for twenty minutes, peel, then rub off residue with cooking oil on a cloth (oil dissolves adhesive), and wash. For plastic containers skip the soak and go straight to oil.
Can I print these on a colored sticker sheet?
Yes — the template's frames print in light warm gray that reads on cream, kraft, and pastel stocks. Skip dark sheets: home printers cannot print white, so dark labels need a paint-pen hand-lettering pass instead.
What pen survives on laminated labels?
Letter before laminating and anything works. On top of laminate or vinyl, use an oil-based paint pen or fine permanent marker; water-based and gel inks wipe off coated surfaces.