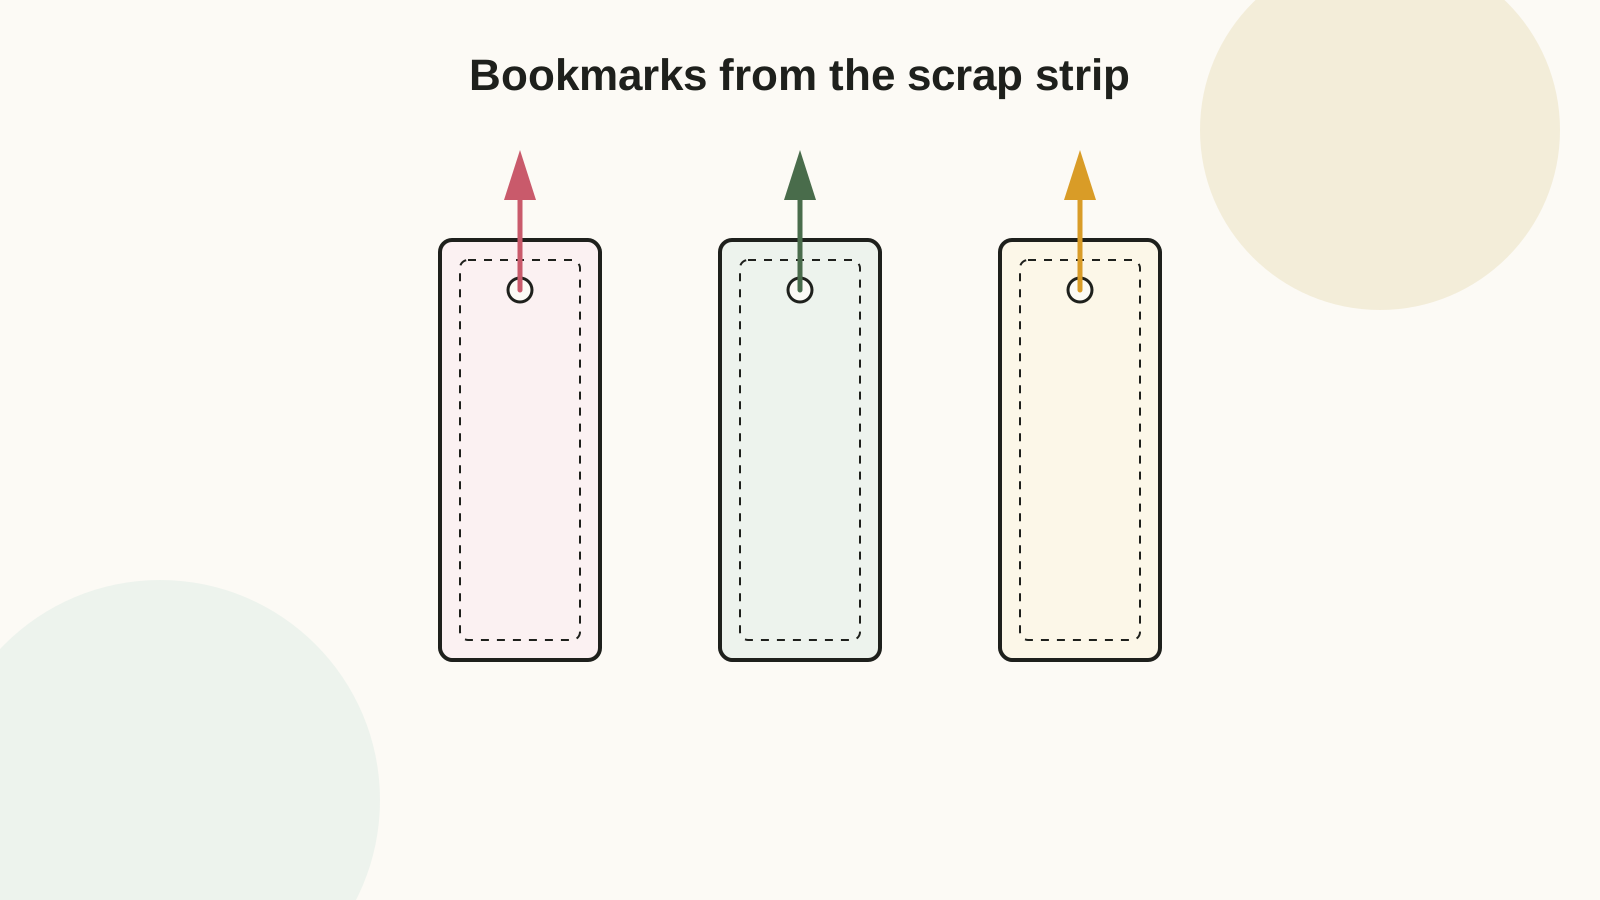
Download the free bookmark sheet
Four 2 x 7 inch bookmarks per letter sheet, each with a faint inner border frame (a guide for decorating that prints light) and a marked 3/16 inch tassel hole. Rounded corners are drawn in — round yours with a corner punch or scissors after cutting.
Download template (SVG) Open and print Print at 100% / Actual Size and check the 1-inch test square (printing guide). For decorated bookmarks, design first, print your art on the sheet, then cut on these lines.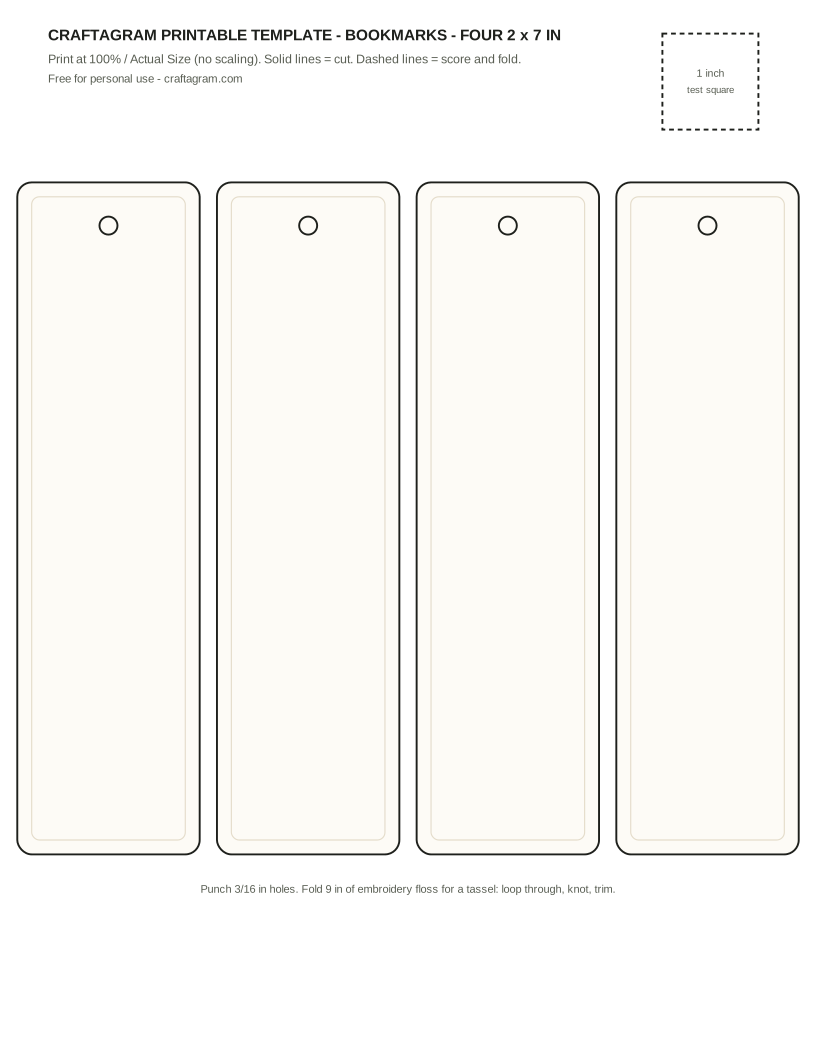
What makes a bookmark survive
A bookmark's working environment is hostile in a specific way: compressed flat between pages, dragged in and out daily, and occasionally used as a lever. That ranks the construction choices:
| Build | Lifespan | When it is right |
|---|---|---|
| 65 lb cover, bare | Weeks | Kids' craft sessions, party favors — the making is the point. |
| 100 lb cover, bare | Months | Personal use; corners soften but the board holds. |
| Any cover stock, laminated | Years | Gifts, library sales, anything with watercolor or marker art on it. |
| Two sheets glued back-to-back, laminated | Years, rigid | Double-sided designs; the lamination seals the sandwich. |
Laminate before punching the hole, and do not trim the laminate flush: leave a 1/16 inch sealed margin beyond the paper edge, then punch through both layers. The sealed edge is the entire waterproofing — a flush-cut edge wicks moisture straight into the paper core. (Weight logic, as ever, in the cardstock guide.)
The tassel, properly
- Cut six strands of embroidery floss at 18 inches (three colors doubled reads richest).
- Fold the bundle in half, push the folded loop through the punched hole from the front.
- Pass all tails through the loop and pull snug — a lark's head knot, the same one from the gift tag project.
- Trim tails level at about 2.5 inches, then run a fingernail down each strand to fluff.
Floss beats yarn here: it compresses flat in a closed book where yarn makes a lump that dents pages. For a no-tassel look, thread a thin ribbon through and knot it flush — or skip the hole entirely for the cleanest laminated edge.
Decoration ideas that stay flat
The inner frame on the template marks the safe zone. Within it: watercolor washes (on 140 lb watercolor paper, cut after painting), pressed flowers under the laminate (the laminate is what keeps petals from crumbling — arrange, seal, done), washi tape stripes, stamped patterns, a hand-lettered quote, or a child's drawing shrunk to fit. What does not work: stickers with raised edges, glued-on buttons, glitter (it migrates into book gutters forever), and anything that turns the bookmark into a page-denting object. Flat is the discipline; the laminate makes flat things look finished.
30 bookmarks ÷ 4 per sheet = 8 sheets of 65 lb cover. Pre-cut the bookmarks and pre-punch holes at home (30 minutes with a trimmer); class time goes entirely to decorating and tassel-tying. Six 18-inch strands per tassel x 30 kids = one full skein bundle of floss in three colors, about $4. The lark's head knot is teachable to a seven-year-old in one demonstration — do the fold-and-loop as a group, in the air, before anyone touches a bookmark. Total cost under $10; total glitter recommended: zero.
Gift pairings
A bookmark's gift form is "flat thing plus book": tucked into a wrapped book with the tassel showing at the page tops, threaded onto the ribbon of a wrapped parcel like an oversized gift tag, or boxed as a set of four in a handmade envelope — four bookmarks happen to stack into an A2 envelope exactly. For book-club and teacher gifts, hand-letter a line from the book on each; personalization costs a pen stroke and converts a craft into a keepsake.
Bookmarks are long and narrow, which makes paper grain visible: cut with the grain running lengthwise and the bookmark stays straight; cut across it and the strip develops a banana curve within a week of humidity. Flex the sheet to find the easy bend before laying out cuts.
FAQ
Can I sell bookmarks made from this template?
The blank template is free for personal use — craft fairs and classroom use included. What you decorate on it is your own work. Please do not resell the template file itself.
What laminate works without a machine?
Self-adhesive laminating sheets, applied squeegee-style from center outward. Two sheets sandwich one sheet of bookmarks before cutting — cutting after sealing keeps every edge closed.
How do I print a design on both sides?
Print side one, note the sheet orientation, reload and print the mirror layout. Expect a millimeter of drift — design backs with full-bleed pattern rather than anything that must align with the front (the drift math is in the printing guide).