Quick diagnosis chart
| Symptom | Likely cause | First fix | Prevent next time |
|---|---|---|---|
| Paper warps after gluing | Water-based glue soaking light paper | Weight it flat overnight under books | Smaller glue dots, tape runner for flat layers, or heavier stock |
| Folds crack | No score, or folded against the grain | Light moisture along the crease back, refold gently | Score first; rotate the template with the grain |
| Cuts look fuzzy | Dull blade or over-stacked sheets | Dress the edge lightly with a fine emery board | Fresh blade; cut two sheets maximum |
| Ink smears | Wrong media setting or wet ink | Seal the sheet with clear matte spray once dry | Correct paper setting; dry flat before cutting |
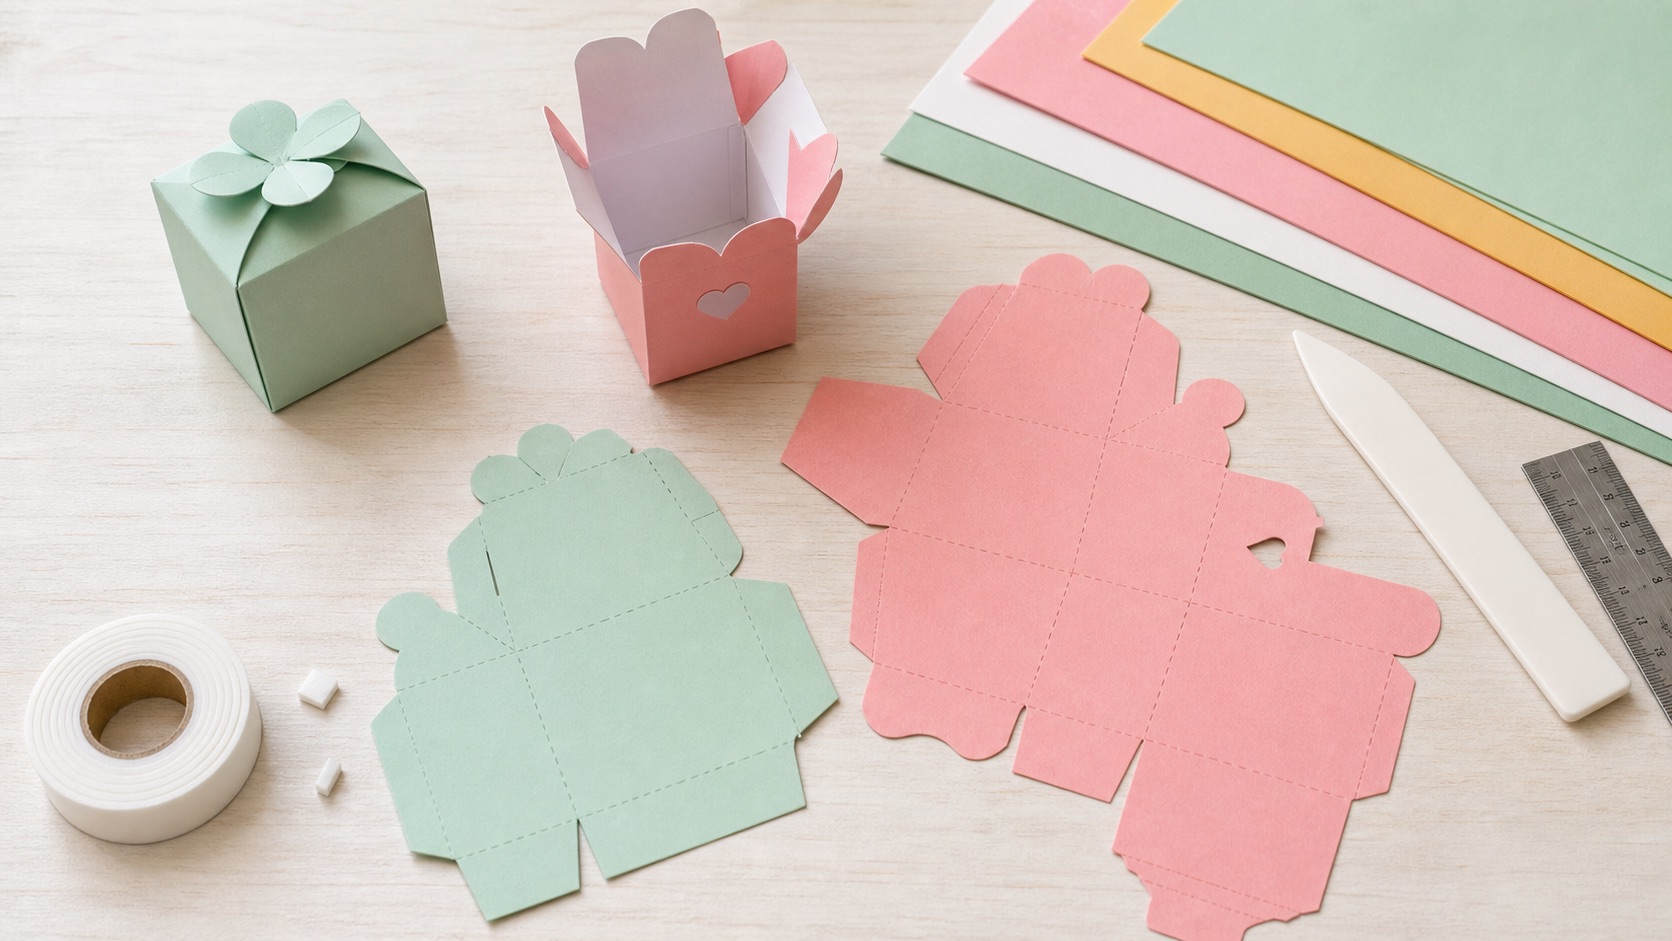
| Box corners crooked | Uneven scores, or glued before pre-folding | Usually terminal — keep as a test piece | Pre-fold everything dry; glue one tab at a time |
| Template printed wrong size | PDF viewer scaled to "fit page" | Reprint at 100% / Actual Size | Check the 1-inch test square before cutting |
The sections below go deeper on each, in the order problems usually appear: print, cut, fold, glue.
Printer problems
Smearing: the media setting meters the ink. "Plain paper" mode on cardstock lays down ink the surface cannot absorb in time — switch to a matte or presentation setting and let sheets dry flat before the trimmer touches them (the full settings walkthrough is in inkjet vs laser).
Wrong size: nearly always the PDF viewer's silent "fit to page," which shrinks output 3-5%. Print at Actual Size / 100%, scaling off. Every Craftagram template includes a printed 1-inch test square — measure it with a ruler before cutting, because a 96% envelope will not fit its 100% card.
Bent or jammed sheets: the paper path is fighting the weight. Feed heavy stock one sheet at a time through the rear or manual tray, or print on lighter paper and laminate it to cardstock afterward.
Cutting problems
Replace the blade before blaming the template — dragging paper fibers are a dull-blade signature, worst on recycled and textured stock. With scissors, turn the paper into the blade rather than steering the scissors around the shape; the cut stays on-line and your wrist stops aching. On cutting machines, two specific fixes: test pressure on one corner before a full sheet, and if cardstock tears despite a good blade, check the blade housing for tiny paper shards blocking rotation — stab the blade gently into a ball of aluminum foil a few times to clean and hone it.
Folding problems
Cracked folds have exactly two causes. Unscored folds: the fiber tears where it pleases, never straight — score every fold with a rounded-tip stylus, bone folder, or empty ballpoint. Against the grain: even scored folds crack when the fold fights the sheet's fiber direction; flex the sheet both ways to find the easy bend and orient templates so folds run with it (grain is explained fully in the cardstock guide).
For textured, metallic, or coated cardstock, score on the reverse side. The score becomes a raised hinge on the front, so the decorative coating stretches over a curve instead of snapping at a valley. A cracked fold that already happened can be muted — never erased — by burnishing the crack line gently with the bone folder's flat side.
Gluing problems
Warping is moisture: use less glue than feels right (a pea per petal base, a thin line per tab), press pieces under scrap paper instead of fingers, and switch flat layers to tape runner in humid weather — humidity alone can turn a working glue routine into a warped one; dry adhesives are the summer fix.
Visible glue marks: dried spots lift with an adhesive eraser (rubber-cement pickup); stubborn residue yields to a barely-damp cotton swab of rubbing alcohol, dried immediately. Cosmetically, cover center marks with a punched circle, label, or extra petal — additions read as design. Prevention is placement: adhesive goes where the next layer covers it, per the glue guide.
Crooked assembly: glued-too-fast. Pre-fold every score line dry, confirm the shape closes square, then glue one tab at a time with a clamp moment for each. A box glued in one enthusiastic pass sets crooked forever.
Environmental gremlins
Paper is a sponge with opinions. High humidity softens fibers (curling sheets, weeping glue joints, relaxed flower curls); dry winter air makes stock brittle (cracking folds that worked in October). Store paper flat in a closed room, acclimate a new pack indoors for a day before a precision project, and prefer dry adhesives when the air is wet. Sheets that arrived rolled: counter-roll them around a tube for ten minutes, then flatten under books for a day.
When to start over — and what the failure is worth
Restart when the problem is structural: a box that will not close square, a tag hole that tears at a tug, a flower center that cannot hold petals. Cosmetic flaws can be covered; geometry cannot. But keep every failed piece — they are pre-paid test material for glue, ribbon, paint, and printer settings. A failed first piece that prevents a failed batch was the cheapest thing on the table.
Before any batch, run one strip of the actual paper through the project's three core actions — print, fold, glue. Ninety seconds. It catches wrong media settings, brittle stock, and slow glue before the good sheets are committed.
FAQ
Can I iron warped paper flat?
Yes — low heat, with a cotton cloth between iron and paper, moving constantly. It relaxes moisture warp better than books when the piece is already assembled. Skip it for anything with hot glue, which re-melts.
Why do only some pieces from the same sheet crack?
Grain direction. Pieces whose folds ran with the grain folded clean; the ones across it cracked. Reorient the template so every fold runs the same, tested direction.
My cutting machine tears intricate designs no matter what.
In order: new blade, cleaned housing (foil-stab trick), lighter pressure with two passes, less-sticky mat, and finally simpler design — some filigree is beyond 65 lb cardstock physics regardless of settings.