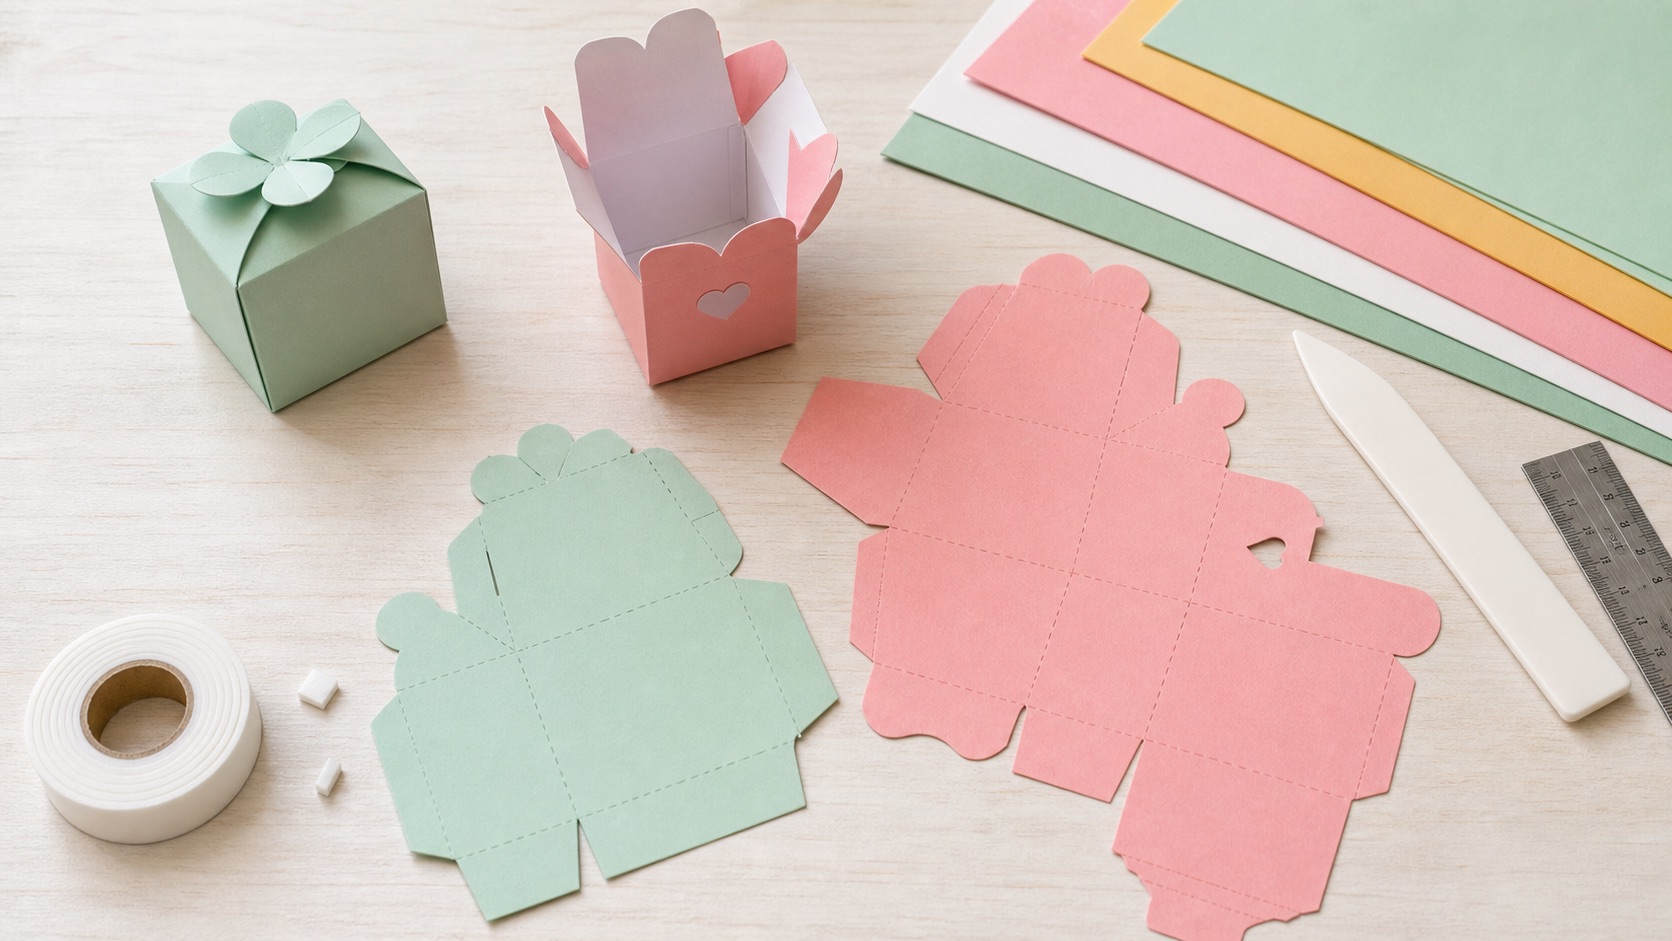
Finished box goal
This project makes a box with an inside space close to 2 by 2 by 2 inches. It is best for wrapped candies, a small ornament, jewelry in a pouch, or a lightweight party favor. Avoid unwrapped food unless the paper is food-safe and lined.

Starting measurements
| Part | Measurement | Why |
|---|---|---|
| Side panels | 2 x 2 in | Creates the cube walls. |
| Glue tab | 0.35 to 0.4 in | Enough hold without crowding the inside. |
| Top flaps | 1 to 1.25 in deep | Lets the box close without bulky overlap. |
| Bottom flaps | 1 to 1.25 in deep | Supports light contents. |
| Paper | 65 to 80 lb cover | Scores cleanly at this small size. |
Cut and score order
- Draw the full box net on plain paper first.
- Cut the outside shape and score every fold line.
- Fold the box without adhesive and check the corners.
- Transfer the corrected net to cardstock.
- Glue the side tab first, then close the bottom.
Why small boxes fail
Mini boxes fail when the paper is too heavy, the score lines are slightly off, or the tabs overlap too much. A tiny error is more visible at this size than on a large gift box. If the cube twists, redraw the score lines with a ruler instead of trying to force the folds straight.
Best uses
Use this size for two or three wrapped candies, a small charm, a rolled note, or a table-place favor. If the item is fragile or heavy, add a loose 2 by 2 inch cardstock square inside the bottom after the box is glued.
Make one complete box from the exact paper you plan to use. If it closes cleanly, flatten it and use it as the master template for the batch.
Finishing ideas
Wrap narrow ribbon around the finished box, add a 1.5 inch tag, or stamp the front panel before assembly. Decorations are easier before gluing, but ribbon length is easier to judge after the box is folded.