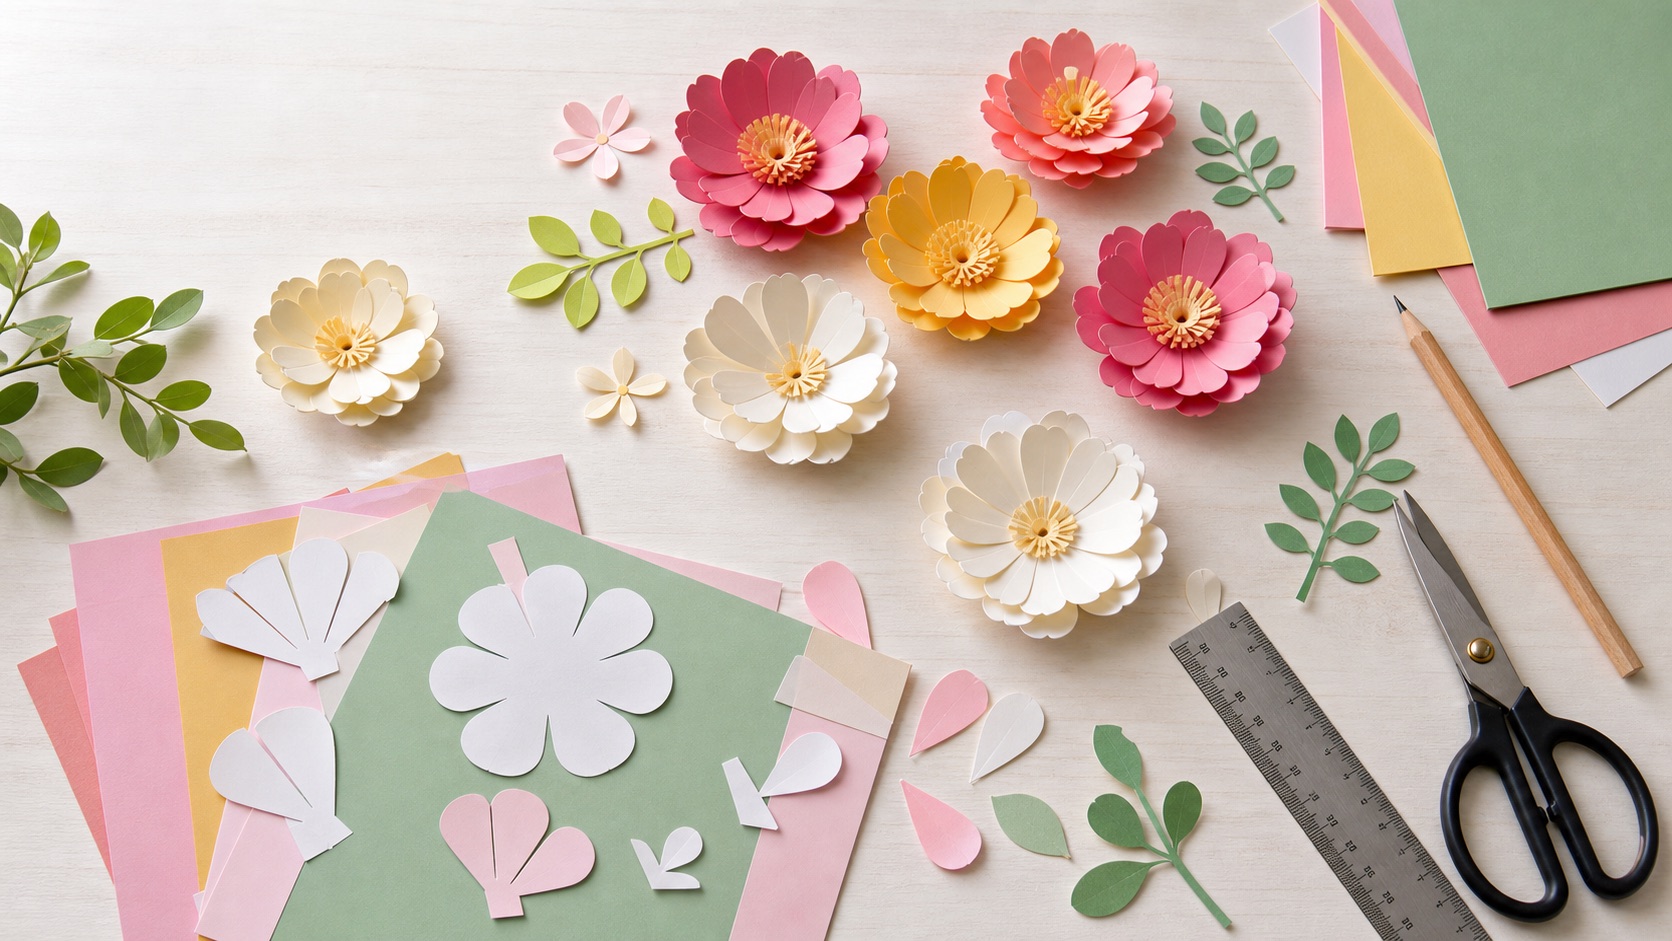
Download the free petal template
One letter-size sheet with all three petal sizes (3.5 in, 2.75 in, 2 in), a leaf with a scored center vein, and a 1 x 7 in fringe center strip. Solid lines are cut lines; dashed lines are score lines.
Download template (SVG) Open and print Print at 100% / Actual Size with scaling off. Measure the 1-inch test square on the printed sheet before cutting: if it is not exactly 1 inch, your print dialog is scaling the page. Full settings walkthrough: how to print at actual size.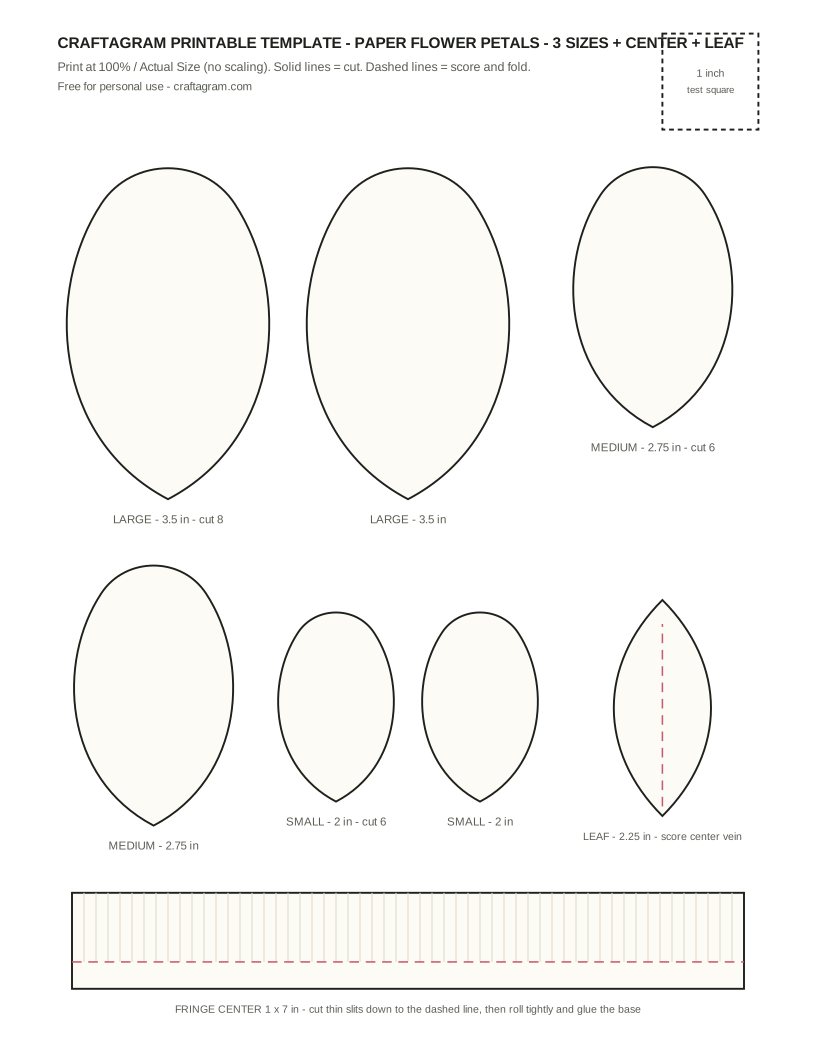
What this template makes
The template builds a classic layered rose-style bloom that finishes around 5 to 6 inches wide: eight large petals (3.5 in), six medium petals (2.75 in), and six small petals (2 in), stacked around a rolled fringe center. That size reads clearly across a room on a backdrop wall, sits comfortably on top of a wrapped gift, and is still small enough that one flower comes out of roughly one and a half letter sheets of cardstock.
The same petals rearrange into other flower styles. Skipping the large petals and doubling the small ones makes a tighter daisy or ranunculus shape; adding two extra large petals loosens the bloom into a peony. The table further down gives petal counts for each variation.
Cardstock choice
Choose 65 lb to 80 lb cover cardstock for most flowers. It curls cleanly around a pencil, holds glue well, and does not require special tools. Heavier stock (100 lb and up) can look beautiful for oversized flowers, but it takes longer to shape, fights the curl, and may crack on tight curves. Text-weight paper (the weight of ordinary printer paper) makes floppy petals that collapse once the flower is picked up; save it for fringe centers, where flexibility is an advantage.
If you are choosing between specific sheets at the store, the deeper comparison in our cardstock weight guide for paper flowers covers solid-core versus white-core stock, why textured cardstock cracks on curls, and what to buy for giant flowers.
How to print and cut the template
- Print the template sheet on plain paper at 100% scale, then confirm the 1-inch test square with a ruler.
- Cut the paper petals out roughly, about a quarter inch outside the lines. These become tracing templates, so precision does not matter yet.
- Trace onto the back of your cardstock with a pencil, or staple the rough-cut template through scrap corners of the cardstock and cut both together.
- Cut all large petals first while the sheet is big enough to hold comfortably, then medium petals from the remaining strips, then small petals and centers from scraps.
- Sort the petals into three piles by size before any glue is opened.
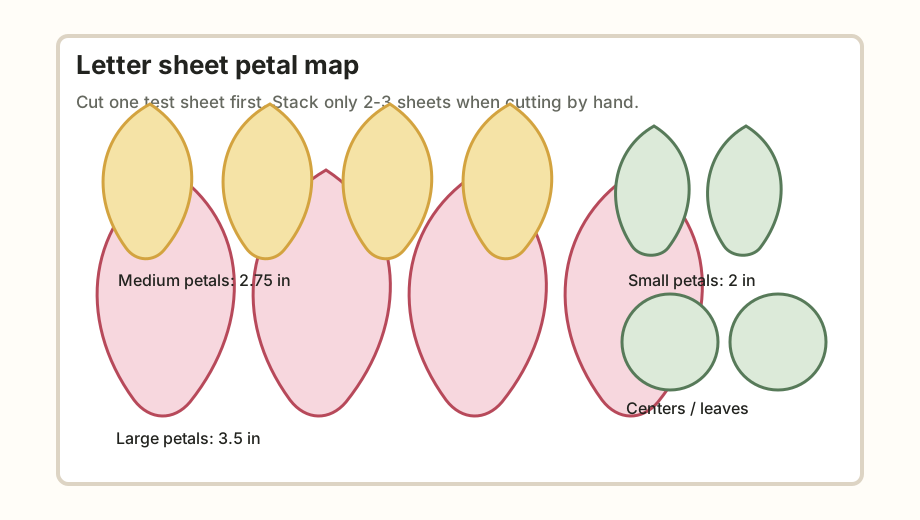
For hand cutting, stack no more than two or three sheets of cardstock. If the edges start to stair-step, reduce the stack — a ragged petal edge is one of the few mistakes that shaping cannot hide. If you use a cutting machine instead, the SVG file imports directly into most cutting software; delete the text labels and the test square, then set the petal paths to cut.
Shaping: the step that makes it look real
Shape every petal before assembly, not after. Flat petals glued in a circle look like a badge; the curl is what turns paper into a flower.
- Large petals: curl the top third of each petal backward around a pencil or dowel, then pinch a small pleat in the base so the petal cups forward. The pleat also gives the glue a strong contact point.
- Medium petals: same treatment, slightly less curl.
- Small petals: minimal curl. Over-shaping the inner ring hides the center and makes the bloom look cramped.
- Leaves: fold gently along the scored center vein, then relax the fold so it reads as a crease, not a corner.
If you are making several flowers, vary the curl slightly from flower to flower so the finished group feels handmade rather than stamped out.
Assembly order
Work from the outside in. Glue the eight large petals into a loose ring on a 2-inch cardstock circle, overlapping each petal by about a third of its width. Add the six medium petals in a second ring, offset so they cover the gaps of the first. Add the small petals in a tight inner ring. Finish by rolling the fringe strip, gluing its base, and pressing it into the center.
Tacky glue gives you repositioning time; low-temperature hot glue is faster for batches. The trade-offs (including why high-temp hot glue leaves bumps that keep inner petals from seating) are covered in the glue comparison for paper flowers.
Petal counts by flower style
| Flower style | Small petals | Medium petals | Large petals | Finished width |
|---|---|---|---|---|
| Classic rose | 6 petals (2.0 in) | 6 petals (2.75 in) | 8 petals (3.5 in) | 5.5 inches |
| Wild peony | 8 petals (2.0 in) | 8 petals (2.75 in) | 10 petals (3.5 in) | 6.5 inches |
| Summer daisy | 12 petals (2.0 in) | 12 petals (2.75 in) | none | 4.5 inches |
| Ranunculus | 15 petals (2.0 in) | 10 petals (2.75 in) | none | 4 inches |
Say you want a 12-flower cluster for a party backdrop: eight classic roses and four daisies. The roses need 8 x 8 = 64 large, 8 x 6 = 48 medium, and 8 x 6 = 48 small petals. The daisies need 4 x 12 = 48 medium and 4 x 12 = 48 small.
From one 8.5 x 11 sheet of cardstock you can reliably cut about 6 large petals, or 9 medium, or 16 small. So: 64 / 6 ≈ 11 sheets for large, 96 / 9 ≈ 11 sheets for medium, 96 / 16 = 6 sheets for small — 28 sheets before waste. Add a 15% buffer and buy 32 to 33 sheets. The paper yield calculator runs this math for any petal or piece size.
Batch workflow for more than three flowers
Assembly-line the work in three passes: cut everything, shape everything, then glue everything. Cutting and shaping keep your hands clean, so gluing goes quickly without adhesive strings across the petals. Keep one finished sample flower on the table and match each new flower's overlap and center size against it — this prevents the common drift where the first flower looks full and the last looks rushed.
Small and medium paper flowers can be made several days ahead if stored loosely in a lidded box, one layer deep. Keep them away from humidity, and add delicate centers after transport if the flowers must travel.
Stems and leaves for vase display
To display flowers in a vase, attach them to 18-gauge floral wire. Bend the top half inch of the wire into a small loop, glue the loop flat against the back of the flower base, and cover it with a cardstock circle. Wrap the stem with green crepe floral tape, stretching the tape slightly as you wrap to activate its adhesive. Slide leaf cutouts under the wrap as you go, or attach them afterward with a drop of tacky glue at the vein base.
Common fixes
| Problem | Likely cause | Fix |
|---|---|---|
| Flower looks flat | Petals not shaped, or bases not pleated | Curl top edges backward, pinch each base into a shallow cup before gluing |
| Flower looks crowded | Too many medium petals for the ring diameter | Remove two medium petals; widen the overlap on the rest |
| Center looks messy | Glue showing, fringe uneven | Cover the base of the fringe with a small punched circle before seating it |
| Petals crack on the curl | Cardstock too heavy or textured | Drop to 65 lb cover, or curl more gradually around a larger dowel |
| Petals flop within a day | Paper too light for petal size | Use text weight only for petals under 2 inches; use cover weight above that |
FAQ
Can paper flowers be made without a cutting machine?
Yes. These petal shapes cut well by hand if you stack only two or three sheets at a time. Use the printed template on top, turn the paper into the scissors as you cut rather than steering the scissors, and tidy the petal stack before shaping.
What is the easiest way to make a fringed flower center?
Use the 1 x 7 inch strip on the template. Cut thin slits about 1/16 inch apart down to the dashed line, keeping the uncut spine intact. Roll the strip tightly from one end, gluing the spine as you go, then splay the fringe outward with a fingertip.
Can I use hot glue for the entire flower?
Yes, but use low-temperature hot glue. High-temperature glue cools slowly into thick bumps that prevent the inner petals from sitting tight against the base, and it will burn fingertips during the tight center work.
How do I mount paper flowers on a backdrop wall?
Glue a flat circle of heavy cardstock to the back of each flower base, then apply mounting tape, hook-and-loop dots, or pins to that circle instead of the petals. The circle spreads the load and peels off the wall without tearing the flower.
Small scraps become centers, leaves, test curls, and patches for glue spots. Do not throw them away until the last flower is finished.