Finished size
For a 4.25 by 5.5 inch card, start with a finished envelope face around 4.5 by 5.75 inches. That gives a quarter inch of total clearance so the card slides in without feeling loose.

Draft measurements
| Template part | Starting size | Adjustment |
|---|---|---|
| Finished face | 4.5 x 5.75 in | Add more clearance for layered cards. |
| Side tabs | 0.4 in | Use 0.5 in if the paper is slick. |
| Top flap | 2.25 to 2.5 in deep | Extend for a rounded or pointed flap. |
| Bottom flap | 2 to 2.25 in deep | Must overlap side tabs cleanly. |
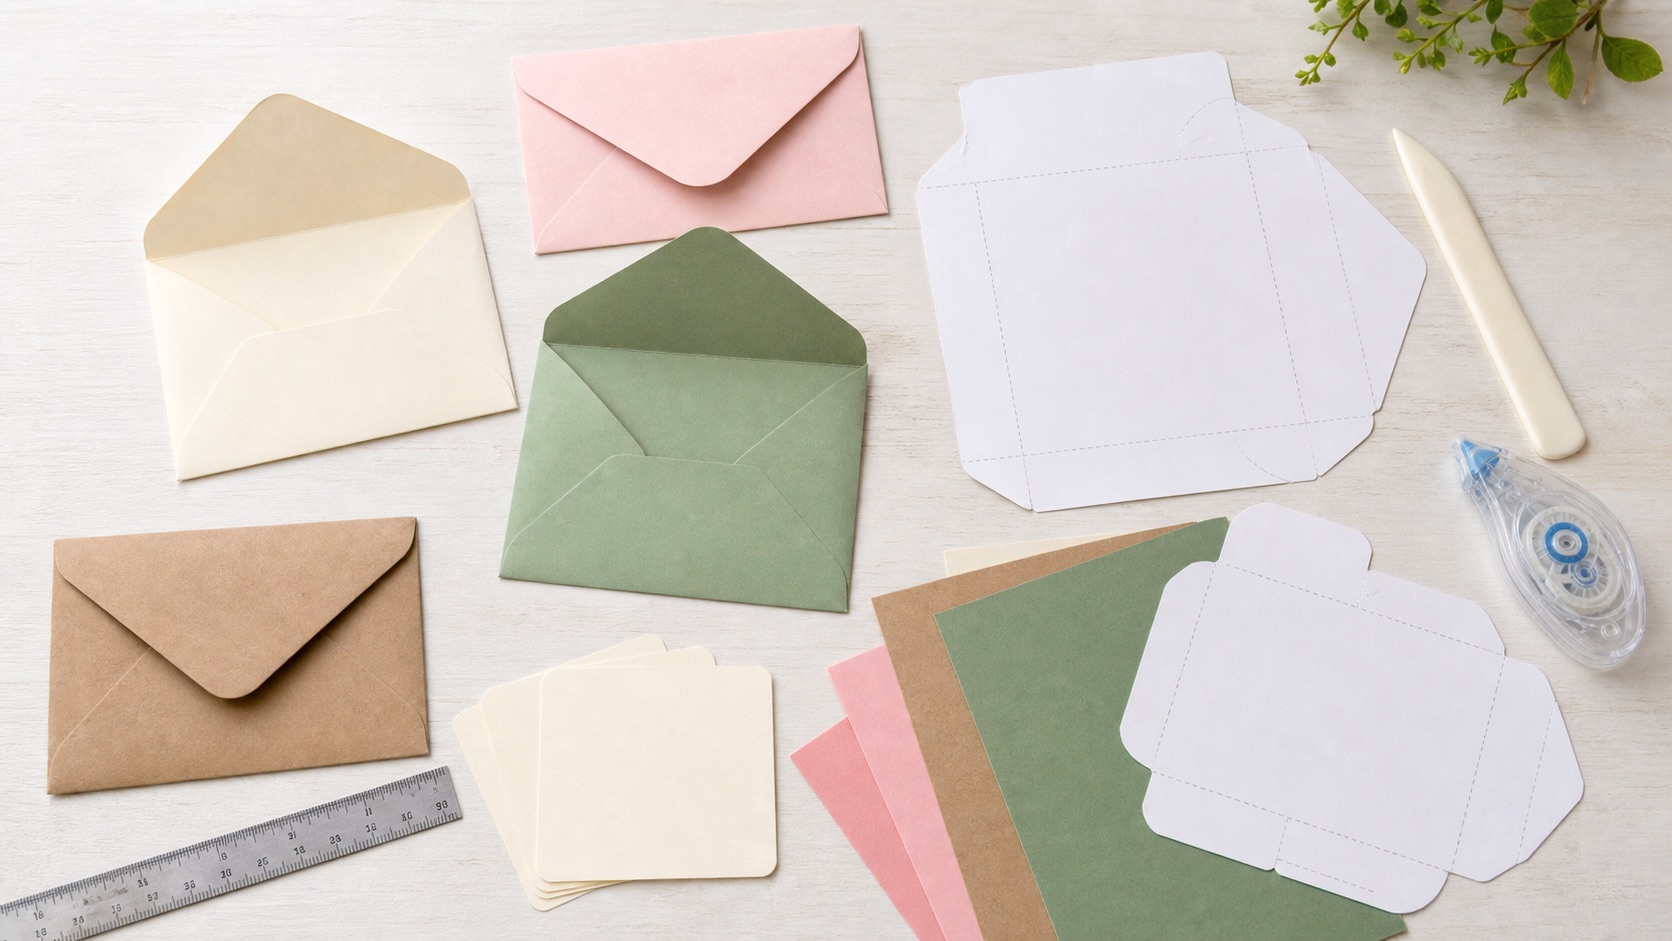
Draw the template
- Draw a 4.5 by 5.75 inch rectangle on scrap paper.
- Add a 0.4 inch tab to the left and right sides.
- Add the top flap and bottom flap.
- Cut the rough outside shape and score the face rectangle.
- Fold the envelope around the real card before adding glue.
Paper choice
Use text weight paper for easy folding and lightweight cardstock for hand-delivered gift envelopes. Heavy cardstock looks substantial but can create bulky corners, especially where the side tabs and bottom flap overlap.
Fit checks
If the card catches at the corners, increase the face size before changing the flap shape. If the envelope bows, trim the side tabs narrower. If the flap barely reaches, deepen the flap only; making the whole envelope taller usually creates a loose, sloppy fit.
Once the scrap-paper version fits, write the card size and paper type on it. That draft becomes your reusable template.
Decoration timing
Add liners, stamps, stickers, or labels after the envelope test fits. A liner adds thickness, so trim it a little smaller than the face and keep adhesive away from the fold line. Raised wax seals and buttons are better for hand delivery than mailing.